Table of Contents
Introduction
Android Studio, which Google supports, is the official integrated development environment (IDE) for Android app development. As preferred language in developing Android Apps, Java was replaced by kotlin on May 7, 2019. But now, for Android applications, Java is used.
The following features are supported by Android Studio 3.6.1.
- Gradle-based build support.
- UI components can be created by drag and drop features in the layout editor.
- Common Android designs and components can be created by Template-based wizards.
- Built-in support for Google Cloud Platform enabling integration with Firebase Cloud Messaging (Earlier ‘Google Cloud Messaging’) and Google App Engine.
- Lint tools to catch performance, usefulness, version compatibility, and other problems.
This tutorial will show you how to download Android Studio in Windows 10, and how to install them.
System Requirements
Before downloading and installing Android Studio, the following requirements are essential.
- Operating System Version – Microsoft Windows 7/8/10 (32-bit or 64-bit).
- Random Access Memory (RAM) – Minimum 4 GB RAM and 8 GB RAM recommended.
- Free Disk Space – Minimum 2 GB and 4 GB recommended.
- Minimum Required JDK Version – Java Development Kit (JDK) 8.
- Minimum Screen Resolution – 1280 * 800.resolution
Download and Install Android Studio
- To download the Android Studio, visit the official Android Studio website in your web browser.
- Click on the “Download Android Studio” option.
- Double click on the downloaded “Android Studio-ide.exe” file.
- “Android Studio Setup” will appear on the screen and click “Next” to proceed.
- Select the components that you want to install and click on the “Next” button.
- Now, browse the location where you want to install the Android Studio and click “Next” to proceed.
- Choose a start menu folder for the “Android Studio” shortcut and click the “Install” button to proceed.
- After the successful completion of the installation, click on the “Next” button.
- Click on the “Finish” button to proceed.
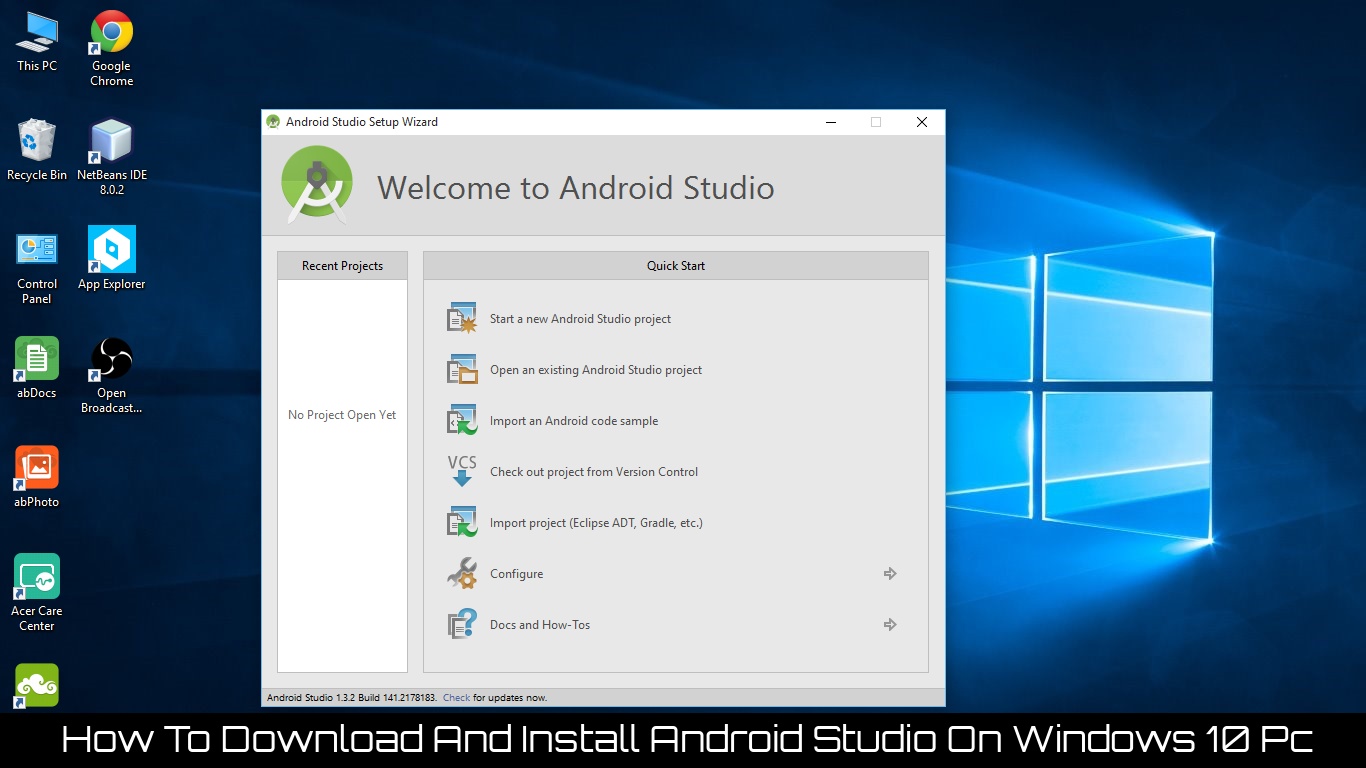
- Now, your Android studio welcome screen will appear on the screen.
Android Studio Setup Configuration
- “Android Studio Setup Wizard” will appear on the screen with the welcome wizard. Click on the “Next” button.
- Select (check) the “Standard” option if you are a beginner and do not have any idea about Android Studio. It will install the most common settings and options for you. Click “Next” to proceed.
- Now, select the user interface theme as you want.
- Then, click on the “Next” button.
- Now, click on the “Finish” button to download all the SDK components.
- And, the downloading and installation process of components gets started.
- After downloading all the necessary components, click on the “Finish” button.
Congrats, your Android Studio has been successfully installed in your system and you can start a new Android studio project.
Conclusion
By following the above steps, in Windows 10.I hope you liked this post, you can download and install Android Studio. Follow C# Corner to find out more about Windows 10.