Another thing you can try is to change the colour schemes and fonts on the site. When you learn how to build a website, it’s easy to make your website more unique and in keeping with your identity as a brand.
To start, go back to the section called “Appearance / Neve Options.” We shall concentrate on two options:
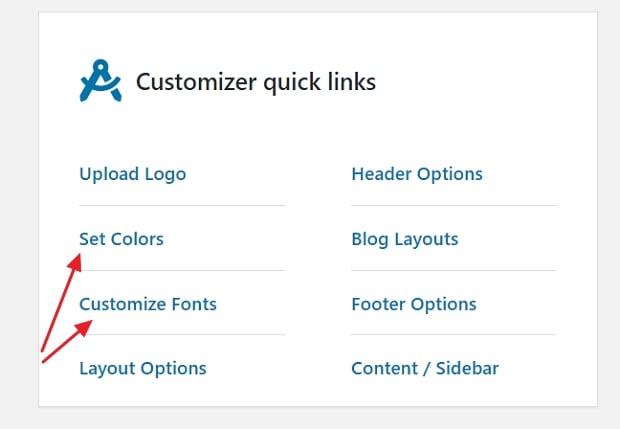
- First, click on “Set Colors.”
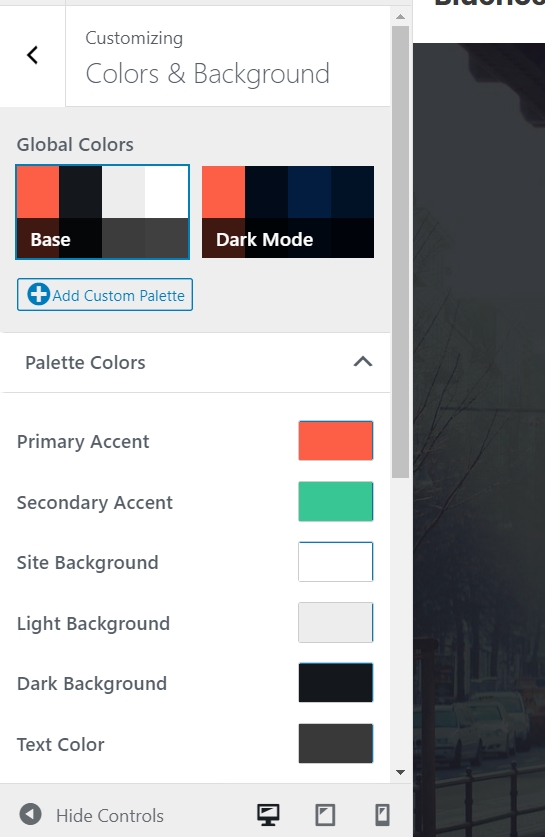
- Most WordPress themes are defined by the color scheme they use for various elements of the design.
- Most commonly, those are the colors of the links, texts on the site, and backgrounds.
- You can change the color assignments for the Neve theme via the Customizer.
- To switch any of the colors, just click on it and pick a new color.
- Click on “Publish” and “X” when you’re done.
Changing fonts works similarly:
- Click on the “Customize Fonts” link in the “Appearance → Neve Options” panel.
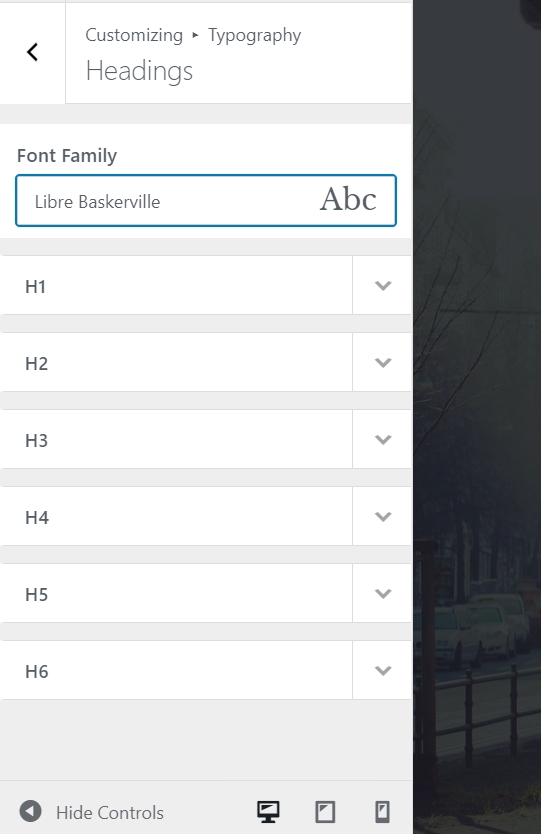
- Neve lets you pick from a whole catalog of system fonts and Google Fonts.
- Just click on the “Font Family” box and select the font you like.
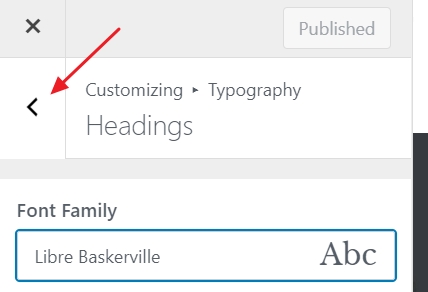
- After that, you can fine-tune the individual fonts used for your headings.
Experiment with these settings to see the effect they have on your site.
- To customize the font used for the body section of your site, click on the arrow button near the top left.
- Click on “General.” This will take you to a similar options panel, but this time you’re adjusting the main body font.
- Click on “Publish” and “X” when done.