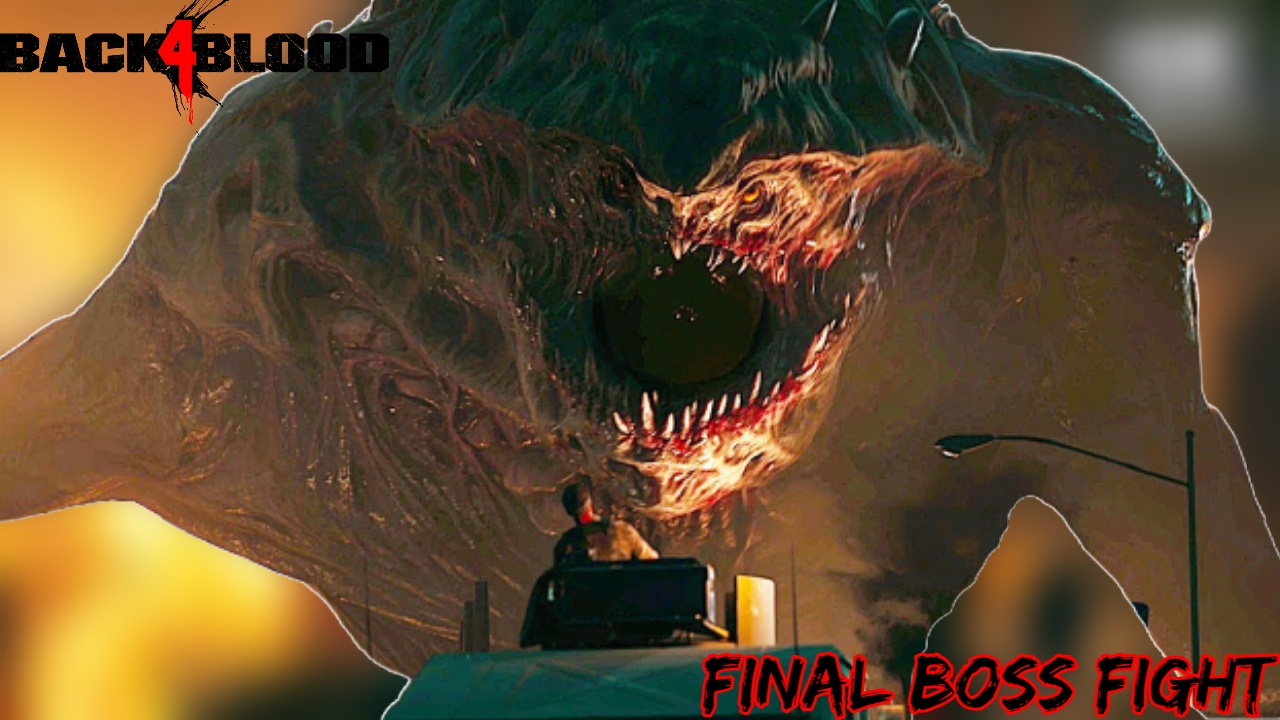
Back 4 Blood: How to Defeat the Abomination Final Boss Fight Guide.You’ve finally reached the final level of Back 4 Blood. After returning home from testing a new weapon against the Ridden, a monstrous foe known as the Abomination emerged from underground. The final level of the game is entirely dedicated to slaying this behemoth. Here’s how to go about it.
First, make sure you have enough supplies before leaving the safe room. Tons of weapons will be on the ground, all epic rarity and extremely powerful. Make sure to get one for each of your primary and secondary weapons. Next, in the shop, have each team member purchase one team upgrade, and then make sure to outfit yourself with what you prefer using.
Table of Contents
First phase

When you walk out onto the street, four tentacles will burst out of the ground, and zombies will constantly spawn in. Throughout the encounter, make sure to first take out the zombies attacking you, as well as any mutations you come across. The tentacles are simple to decipher. When they are about to attack, they will open up towards one of the other players, indicating who they are going to attack. To avoid a slam attack, that player should move side to side. As the tentacle retracts, it will reopen. Have everyone fire into the tentacle whenever you see it open. Try to save as many of your items as possible for this early fight, but obviously, use them if it means saving your life.
When a tentacle is killed, it will slink down to the ground and randomly spew acid around it. While fighting the others, keep an eye on where you’re going. They will slink into the ground if all four are defeated. Grab any ammo and supplies you need from the nearby boxes before diving into the tunnels after them.
Second phase

The second phase begins as soon as one Cleaner enters the tunnels. The face of the Abomination can now be seen in a wall. Again, zombies will spawn indefinitely, so take them out when they get close. The tentacles are the most important thing to notice here. They are, once again, fairly simple to read. All four tentacles will spew acid before charging forward and slamming into the wall behind you. The order in which the tentacles spit acid is the order in which they will burst forward. If you don’t move out of the way, this attack will deal a lot of damage and knock you out.
The Abomination will scream once all of its tentacles are in the wall. There are two sores inside its mouth that everyone should be shooting at this point. These sores are the two target objectives. Kill Ridden while avoiding tentacle attacks until both sores are destroyed. If anyone falls, make sure to get them up and use your offensive weapons to clear out large hordes of Ridden.
The third stage
The third phase begins when you destroy the second sore in the Abomination’s mouth, and a five-minute timer begins to count down. If you don’t finish it within that time limit, it’ll reach Fort Hope and destroy everything, and you’ll lose. Grab some ammo from the nearby boxes before proceeding to the next room.
Throughout this phase, the Abomination will move slowly. Make sure you don’t get too close to its underside, or you’ll be crushed to death. Furthermore, there are times when it will spit out acid, but this isn’t a big deal. Your first priority should be to avoid the Ridden.
The four sores on the Abomination’s body represent its four quarters of health. You’ll notice that they glow a little before they pop as you shoot them. The four locations are on its right, left, top, and bottom sides.
ALSO READ:Where To Find Lotus Head In Genshin Impact: All Lotus Head Location

When you enter this new cavern, pay attention to the right side sore as it begins to flee. After that, continue along the right side of the path to have a good shot at the top sore. The Abomination will eventually hit a wall, and you’ll need to go through a tunnel on the left side to catch up. To make the tunnel access easier, we recommend using a Pipe Bomb.

Tendril bridges can be found on the other side of the tunnel. If you fall off, you’ll take a lot of damage. You should be able to see its left sore if you run along its left side. Fire at it until it explodes.

Finally, drop down near the tendril bridges to get a good look at the bottom sore. Finish it so that the ending cutscene can begin, and you have completed the Back 4 Blood campaign.


