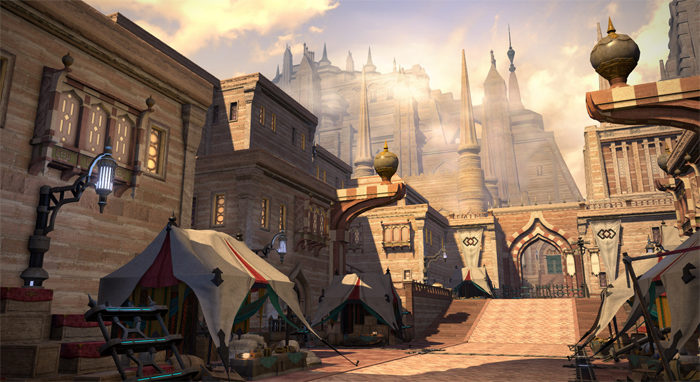
Ala Mhigo Dungeon Guide In Ffxiv. In Final Fantasy 14: Stormblood, Ala Mhigo is a level 70 dungeon. After a lengthy voyage through the Far East and Gyr Abania, you have arrived at Ala Mhigo, where Zenos awaits you. Storm the city, destroy the Magitek machines in your path, and confront Zenos yae Galvus.
Ala Mhigo is the expansion’s first level 70 dungeon, and it will have you fighting through a variety of AoEs, new and deadly features, and other Magitek-inspired weaponry. Let’s go over each of Ala Mhigo’s bosses, their attacks and mechanics, and how to defeat them.
Table of Contents
How To Unlock Ala Mhigo
Ala Mhigo unlocked through the following quest.
- Accept the Main Scenario Quest ‘Stormblood’
- NPC Location: Pipin – The Lochs (X:32.6, Y:22.9)
Dungeon Walkthrough
Keep an eye out for the additional groups of trash mobs that will occasionally join the fight as you progress down the dungeon. The Tank and the Healer should only pull as much as they are comfortable with.
Magitek Laserfields can found in the second half of this dungeon. To shatter the gate and proceed to the other side, these must demolished. To allow DPS players to kill both trash monsters and Laserfields at the same time, try pushing trash mobs towards the Laserfields.
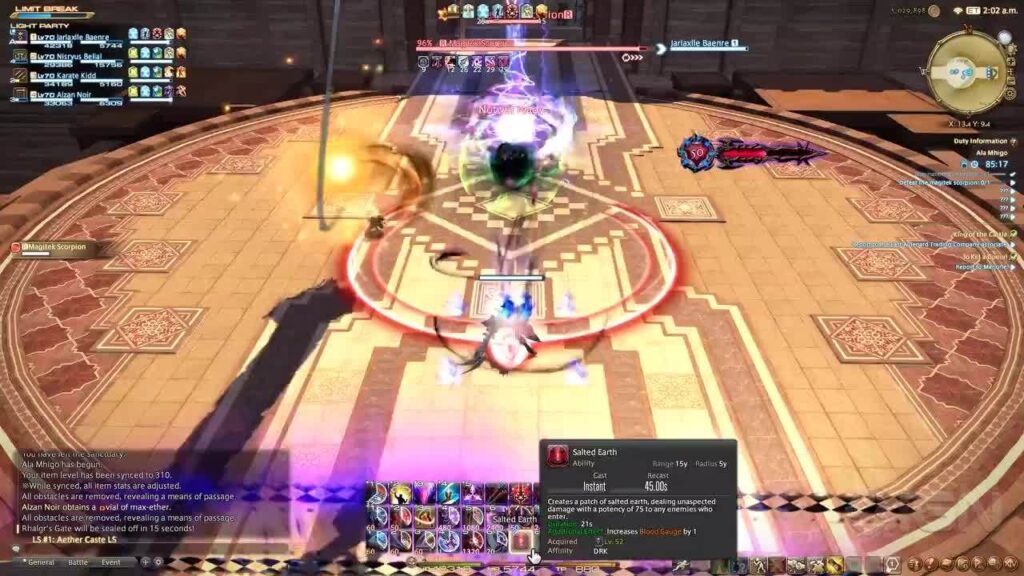
Magitek Scorpion
The Magitek Scorpion is Ala Mhigo’s first boss. The attacks and mechanics of this Magitek weapon outlined below.
- Electromagnetic Field: Inflicts damage to all members of the party. To recover, use AoE heals.
- The boss will use a large circular AoE to attack each player, which will follow them for a short period. The AoE will then lock on, exploding where it came to a halt and leaving a burning puddle that continues to inflict damage. Wait for the AoE to lock on before moving outside the indication to avoid this attack.
- The boss will fire line AoEs to the front and back of the arena, separating it into two half. The line AoEs will last for a long, and if you enter the region, you will damaged. This assault will happen at the same time as Target Search, limiting your movement options to avoid the lock on attack.
The Magitek Scorpion will continue to attack in this manner until it defeated. These mechanics are simple, but if you’re not careful, they can cause a lot of damage.
Also Read: Fortnite All Weekly Quests Guide
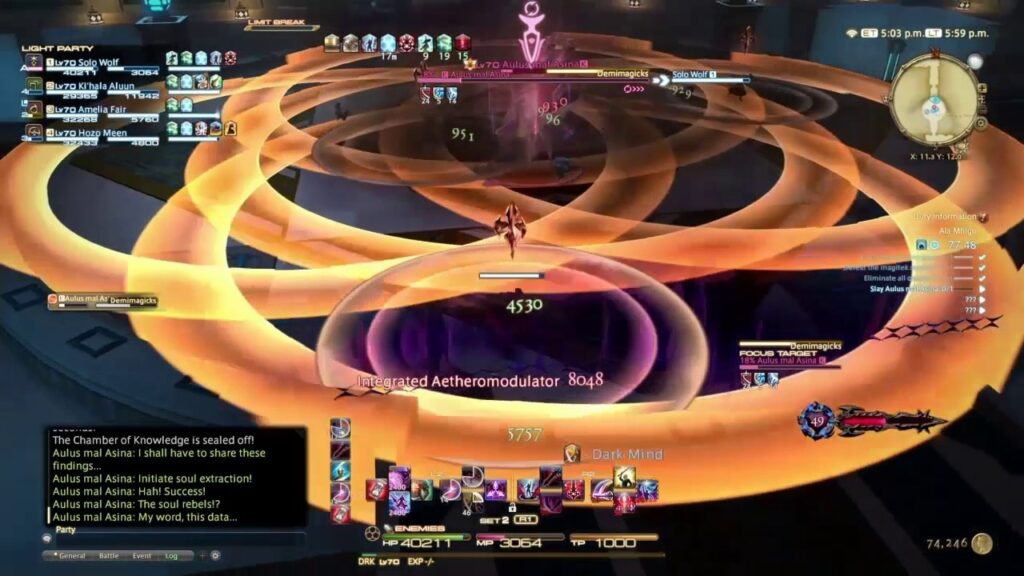
Aulus mal Asina
Aulus mal Asina is Ala Mhigo’s second boss. Proceed with caution since this mad scientist will employ a few novel mechanisms. The attacks and mechanics of Aulus listed below.
- Mana Burst: Inflicts damage to all members of the party. As needed, use AoE healing.
- Order to Fire: Summons Magitek Bits all across the arena in preparation for the next attack.
- Order to Fire: Causes the Magitek Bits to launch a series of two AoE assaults in rapid succession. A point-blank AoE will first appear around the Magitek Bits, followed by a thin ring-shaped AoE that delivers more damage the closer you get to the edge of the AoE. To evade these attacks, move away from the Magitek Bits when they spawn, then swiftly close the distance once the first AoE has passed.
- Aulus will separate your soul and body from your body, push you to the arena’s edge, and summon four Prototype Death Claws. You’ll have to make your way back to your body in the arena’s centre while dodging Death Claws and numerous line AoEs that will fired during this phase. Destroy the Death Claws once you regained control of your body to make it simpler for other players who still Mindjacked.
- Demimagicks: An AoE marker used to target all players. Avoid overlapping these with other players by spreading out.
Aulus continue to attack in this manner until he defeated. You’ll be able to defeat Aulus if you destroy the Death Claws as soon as you can aid your companions return to their bodies.
Zenos yae Galvus
Zenos is Ala Mhigo’s final boss. Will cover the outer perimeter of the arena in a puddle near the start of the fight, inflicting Bleed on players who enter and dealing damage over time. Each of Zenos’ attacks and mechanics listed here.
- Damages a region around Zenos with the Art of the Storm. To avoid him, move away from him.
- Players knocked back from Zenos by the Art of the Swell. To prevent getting pushed over the edge, go close to him.
- The Tank takes a lot of damage from the Unmoving Troika. To lessen the impact of this assault, use protective cooldowns.
- Zenos’ Art of the Sword: A line AoE from Zenos targets all players. Avoid overlapping these AoEs by spreading out.
- Veinsplitter: Zenos will launch a massive point-blank AoE attack before calling four clones to repeat it. To avoid hit, stay near the arena edges.
- Tethers to a random player before unleashing a massive cone AoE in their direction with Lightless Spark. The tethered player should move away from the rest of the party and out of the AoE indicator as quickly as possible.
- Concentrativity: Inflicts damage to all members of the group. To recover, use AoE heals.
Ala Mhigo Dungeon Guide
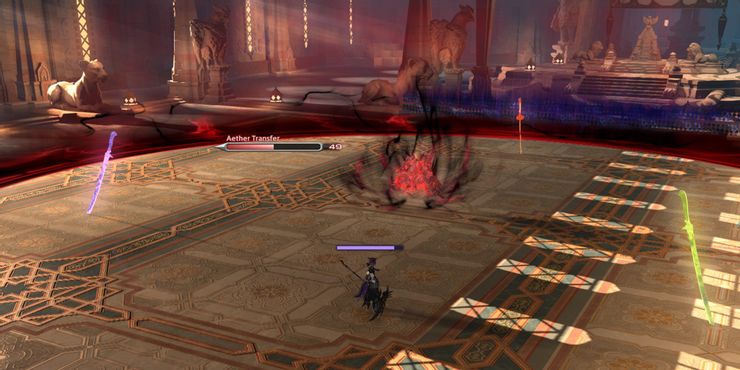
- Summon Swords: As Zenos approaches 15% health, he will summon copies of his swords in the shape of The Swell, The Storm, and Ame-no-Habakiri all across the arena. Zenos will send a clone to these Swords on a regular basis, causing them to attack with Art of the Swell, Art of the Storm, and Art of the Sword. Zenos will begin charging Aether Transfer at the same time, increasing the Duty Gauge. Before the Duty Gauge fills up, you must destroy all three Swords.
- Zenos will utilise Storm, Swell, Sword when either the Duty Gauge filled or all three Swords have destroyed, dealing damage based on how high his Aether Transfer Gauge is. If the Gauge is full, all members of the party will slain instantaneously.
Zenos will continue to cast Concentrativity until defeated after destroying the swords. Prepare to heal during these attacks as you administer the final blows to Zenos before he falls.