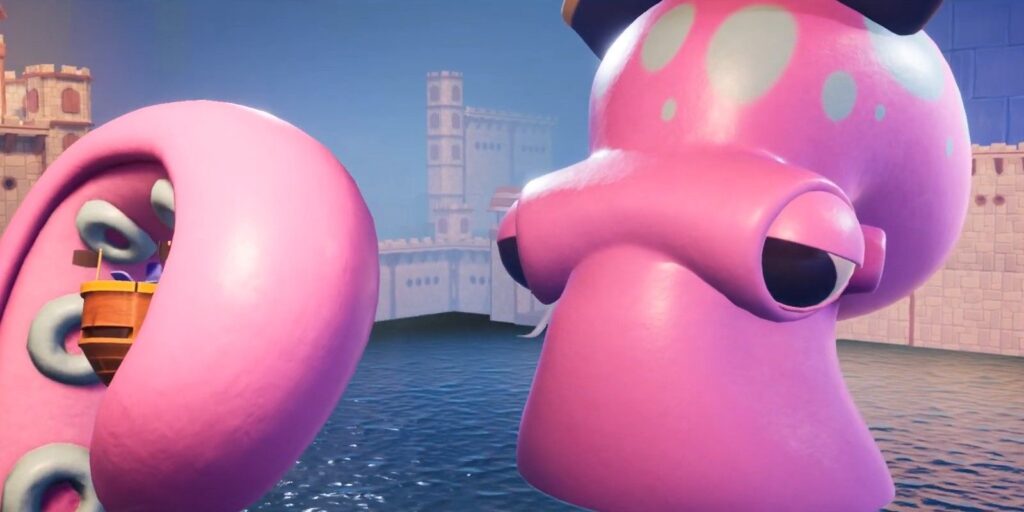
How To Defeat Every Boss In It Takes Two. It Takes Two, Hazelight's new co-op adventure, is chock-full of allusions to various game genres, easter eggs, and some fairly dramatic boss fights. Each boss battle in this new game features unique mechanics and demanding co-op tasks for players to accomplish.
These fights aren't all easy to figure out right away. Some of them will keep players wondering until they die at the hands of a big octopus or a space monkey, but that is all part of the fun of trying to find out how the game works.
Ritwik Mitra updated this page on February 6, 2022: It Takes Two regarded as one of the best co-op action-adventure games ever made. The game is brimming with inventiveness, with new features and gameplay variations introduced on a regular basis to keep things fresh and interesting. It Takes Two's plot also touches on some timely subjects, but even if it doesn't hit the mark for everyone, the game more than makes up for it with fantastic gameplay loops that will keep players engrossed for hours.
The boss fights are the most difficult test for players that have a good understanding of the mechanics in each stage. These climactic encounters are a lot of fun to play through and provide a lot of entertainment as players overcome hurdles and advance through the game.
Table of Contents
Vacuum Tower
- Fires bombs towards Cody and May, allowing them to retaliate.
- During each phase, the boss employs a different attack.
The Vacuum Tower will fire burning canisters towards the players to begin the conflict. Avoid them and wait for a platform to rise in the arena's back. A suction hose will hooked to the top and bottom of this platform. One player must suck up the fire canisters with the bottom half of the hose, while the other utilises the top hose to shoot the canisters at the boss. This phase of the boss fight shouldn't be too difficult because players have been doing the same thing for the first half of the level.
How To Defeat Every Boss
When the players have dealt enough damage to the boss, he will slam the arena shut. The players will have to avoid areas of expanding air as a result of this. Players should be familiar enough with the game's movement mechanics to breeze through this section. After that, the canisters will reappear, and the players will have to repeat their hose trick. After inflicting a second damage on the boss, he will begin hitting the arena once more.
The boss will drop strips of explosive mines as a result of his recent outburst. Dodge a row and wait for them to erupt. Returning to the location where they just burst will provide a safe haven. More canisters should used to damage the boss, and then you must endure the onslaught of slams, mines, and flaming lint balls. It's a fantastic ending to the game's first monster, and players must be on their toes at all times to damage the boss one last time and beat it for good.
The boss fight, however, does not end after the health bar depleted. After the boss's HP depleted, the player must execute one final action with the boss's hoses, which will fall after his HP depleted. Both players will need to take a hose and aim it at the boss's eyes. This will begin the cutscene in which the boss meets his demise and the players complete the first stage of It Takes Two!
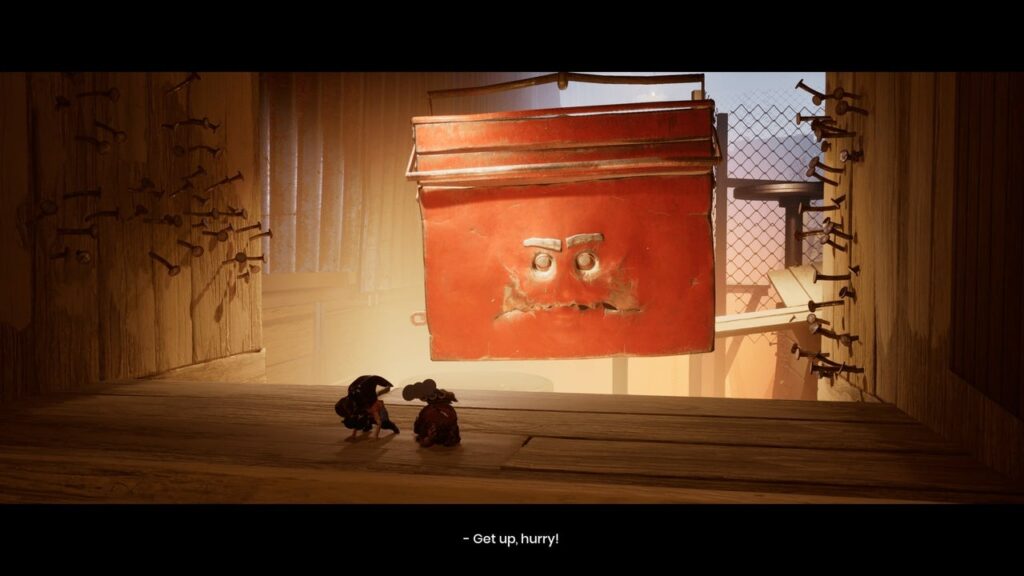
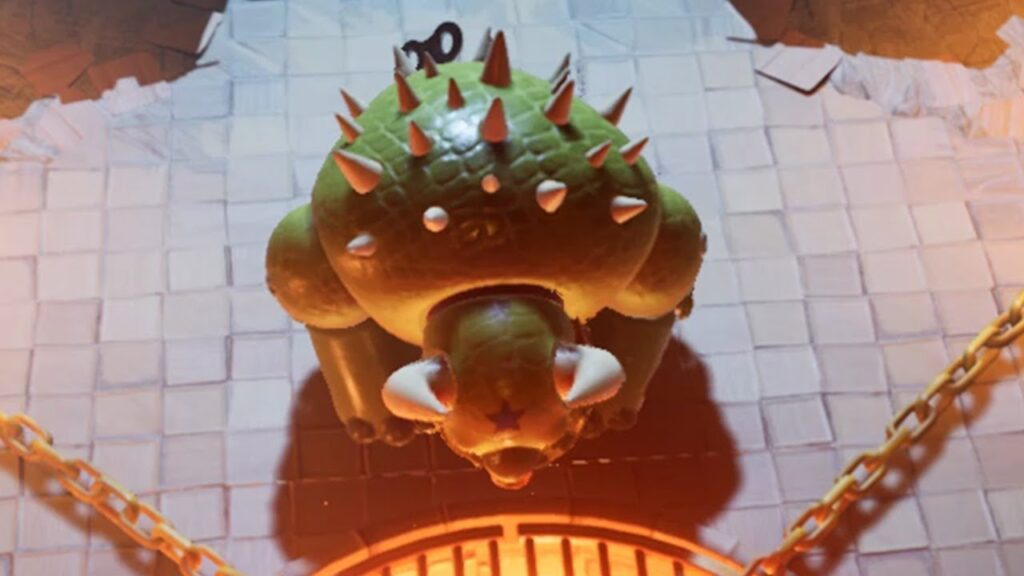
Toolbox
- There are two stages to the boss fight.
- May will remove the first arm during phase one.
- Cody will have to throw nails at the canister on top of the boss during phase two.
Phase One
The boss will begin by blasting nails throughout the platform before swinging his arm from right to left. To avoid taking damage, the player playing Cody must jump over the arm, then hurl a nail into the boss's arm to pin it down. After that, Cody must drive the remaining nails into the boss's arm's two wood pieces. May will be able to swing up to the platform next to the boss, demonstrating the type of teamwork that the players had been practising for quite some time in the stages preceding this boss. May must then hammer one of the locks until it breaks, allowing players to easily go to the second phase of the combat.
Phase Two
The Toolbox will now fling more nails while simultaneously drilling holes in the arena with a drill. After a while, the boss will hurl some saw blades at you. Dodge everything until the boss brings out his arm, at which point Cody must pin the arm down again and assist May in swinging over to the other lock. The boss's arm will come off if you break the other lock. With one arm gone, the boss will begin slamming down on the arena with the other.
After a brief period of avoiding the arm, the boss will position it on the arena's right side. To throw Cody into the air, Cody must stand on the arm while May hits the other end. Cody will have to throw nails at an aerosol can on top of the boss while in the air. Cody will have to strike the can a couple more times with the same mechanic in order to take down the boss sooner rather than later.
In the meanwhile, the boss will employ two new moves: cutting off portions of the arena with a saw blade and spinning his arm around to knock the players off the battlefield. Players must be quick on their feet to avoid these moves while also causing damage to the Toolbox, which can be difficult but is feasible. When the aerosol can destroyed, it will also take down the toolbox, allowing players to revel in the glory of defeating the game's second monster!
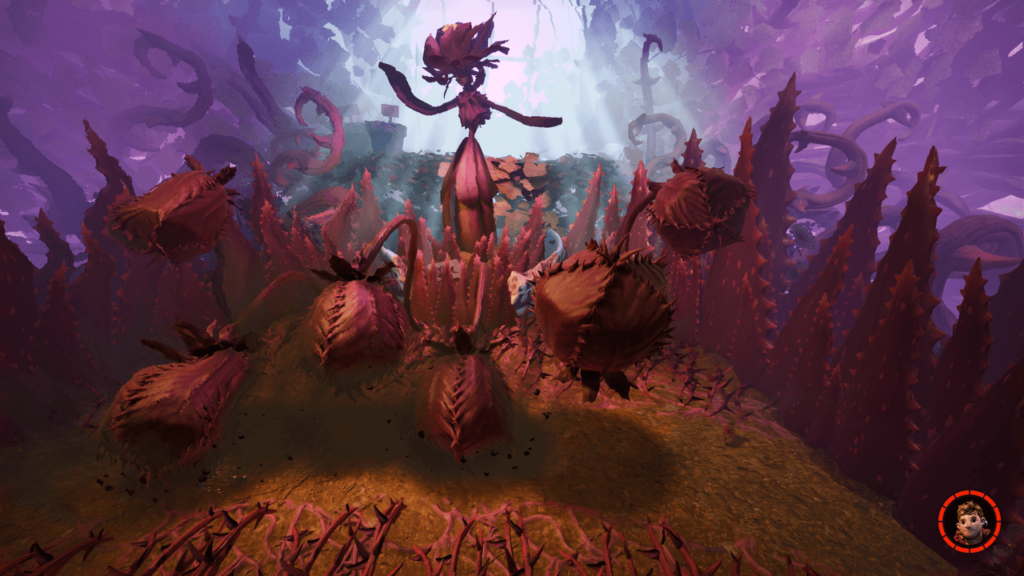
Shield Wasp
- Keep an eye out for charging attacks.
- From behind, cover the monster in sap and detonate with matchsticks.
The Shield Wasp is the first boss fight in the Tree chapter. Because the boss repeats the same manoeuvre over and over, this boss fight goes by swiftly. Shield Wasp will charge three or four times at either May or Cody before switching to the other player.
When the wasp charges, dodge to the left or right and whirl around swiftly to cover it with sap with Cody's sap gun. May will need to use her match launcher to light the boss once it has covered in enough sap. After a few repetitions, the boss will defeated. Keep in mind that the more sap that covers the boss, the more damage the matches will deal. So, before May delivers the ultimate blow, attempt to maximise the entire amount of sap that can cover this vexing bug.
Wasp Mortar
- The boss detonates explosives.
- To defeat the boss, cover him with sap and put matchsticks on fire.
The Mortar Wasp boss fight another simple boss encounter that can completed quickly. It will soar over Cody and May, dropping green mortar bombs on them. Cody must coat the Mortar Wasp in sap until it entirely covered, just as he did with the Shield Wasp.
May then needs to light it with a match. After a short time, the Mortar Wasp will defeated by explosives. Just keep rinsing and repeating, and this boss should gone in no time!
Wasp Swarm is a mini-boss.
- There are two stages to the boss fight.
- The boss will slam the arena in the initial phase.
- During the second phase, the player's route will blocked by the boss.
Also Read: All Iwakura Clan Locations In Genshin Impact
The first phase
The Wasp Swarm a challenging enemy to deal with, even though it isn't recognised as a boss with a large health bar at the top of the screen. The mini-boss Wasp Swarm defeated in two stages. During the first phase, the team must avoid the wasps, who will build a hammer and attempt to sting Cody and May. As in prior fights, the player controlling Cody must utilise the sap gun to cover the wasps. May can then ignite the sap with her matchstick gun, causing the wasps to sting. During this stretch, always prioritise evading; otherwise, the players can smashed in seconds.
Phase 2:
Phase two will begin when the Wasp Swarm repeatedly lands on the ground. The floor will crack as a result, and Cody and May will fall. They'll land on a different branch of the tree and have to slide down it. The Wasp Swarm will take on many forms in order to prevent Cody and May from progressing down the slide. To break up the formations, continue to beat them with sap and then a matchstick. The boss encounter will finish as the players reach a cutscene for the following region, which is a shame because the Wasp Swarm would have been a welcome addition to the game.
Giant Beetle
- To damage the boss, fill the sewer grates with sap and detonate it.
- Charge attacks should avoided.
The Giant Beetle will charge at either May or Cody first. To get to the sewer grates, run around the map while avoiding the charges. Around the arena, there are four sewer grates. Cody will need to use his sap gun to fill these in order to create the ideal trap that will eat away at the Beetle's health.
While May sprays the sap, one of the players can lure the boss over one of the grates. When the boss hit, slams into the ground, forming one to three crimson rings spread outward. To avoid taking any unnecessary damage, jump across the rings and prepare for the boss to charge at the two players once more. Players must patient and repeatedly lure the Giant Beetle over these sewer traps, blasting Sap traps for damage, until the insect defeated.
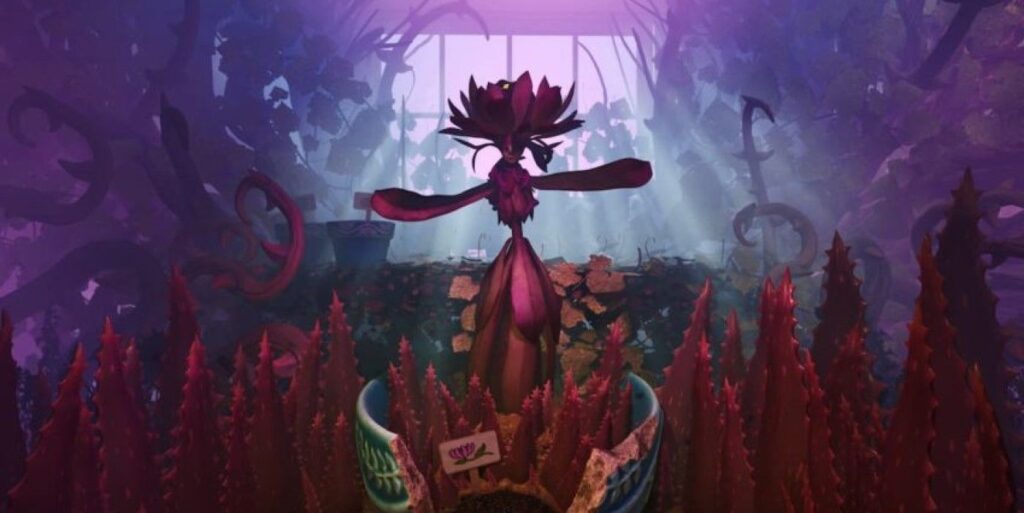
Wasp Queen
- Avoid stung by a swarm of wasps.
- By shattering the armour that surrounds the boss, it defeated.
To defeat the Wasp Queen, you must coat each area of her armour in sap and blast it up. Two pieces of armour on the front and two pieces of armour on the back must destroyed.
Phase One
To begin the fight, the Wasp Queen will be accompanied by a swarm of wasps that will form a hammer to attack the players, similar to how the last Wasp Swarm attempted to eliminate the dynamic pair. Dodge the hammer strikes and aiming at any armour that protected by a swarm, allowing players to land some excellent damaging shots in the midst of the pandemonium. When the boss's health is down by a third, it will begin blasting fire into the arena. To avoid harm, use the rails on each side of the arena. The hammer hits and a horizontal bar move will performed by the boss's swarms as well. Continue to avoid the boss's assaults while shattering his armour plates.
Phase 2:

With half her health gone, the Wasp Queen will order her swarm to drop like bombs onto the arena, creating an explosive wasp radius. Wasps in the shape of scissors will begin to fly across the map. During this period, the view will switch to a top-down perspective, allowing players to dodge these strikes without encountering too many issues. Cody and May will need to remove the boss's remaining armour once the view returns to normal.
The third phase
When the Wasp Queen's health is low enough, the arena will collapse and the combat will continue on a rail that encircles the Wasp Queen. Cody and May will have to take aim at the chain that is holding the monster up, which will guarded by swarms during this time. Defeat the boss by taking out the swarms and hitting the chain enough times.