
Where To Find All Wisp In Crimson Mirelands. Wisps are required to complete Request 22 in Pokemon Legends: Arceus, and here’s where you can locate all 20 in the Crimson Mirelands.
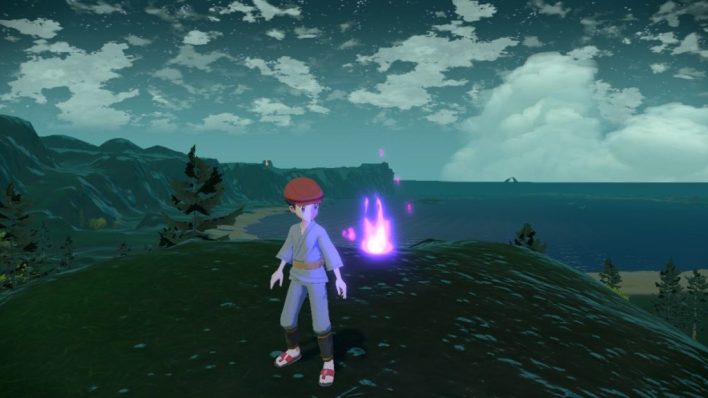
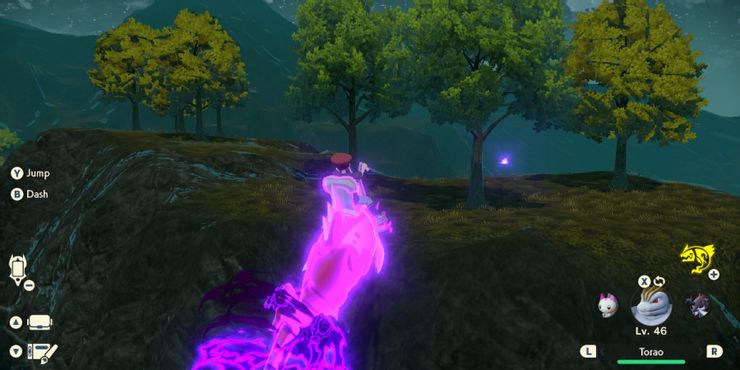
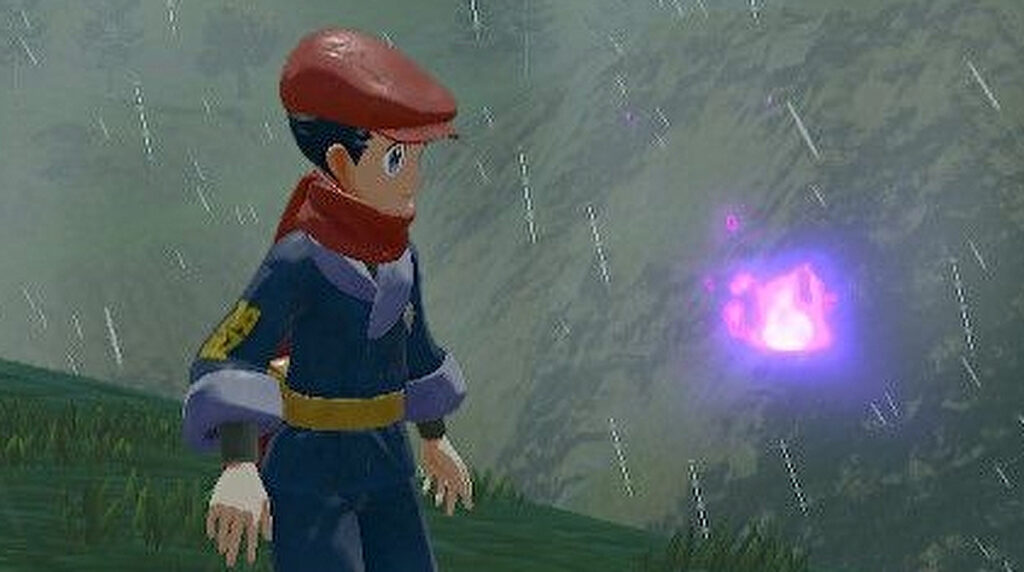
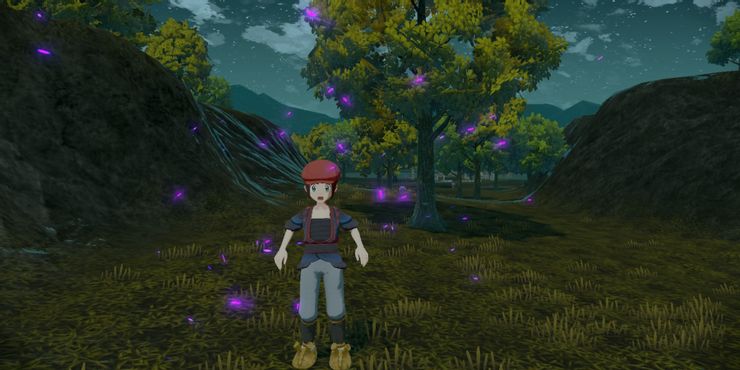
As the franchise’s first foray towards being more of an open-world RPG, Pokemon Legends: Arceus provides many of opportunities for exploration. While the game provides plenty of content for fans in the form of Pokedex Completion assignments and other requests, one in particular seems to consume a significant amount of time for many players. This is Request 22, “Eerie Apparitions in the Night,” which challenges players to travel throughout Hisui in search of purple wisps.
Players hunting for wisps in the Crimson Mirelands should keep in mind that some may not be immediately accessible or easy to obtain. Some are on high ledges or across water, necessitating the assistance of Basculegion or perhaps Sneasler to obtain. Despite the obstacles, some creative thinking may help fans figure out how to acquire these wisps.
Table of Contents
Upper Map Of The Crimson Mirelands
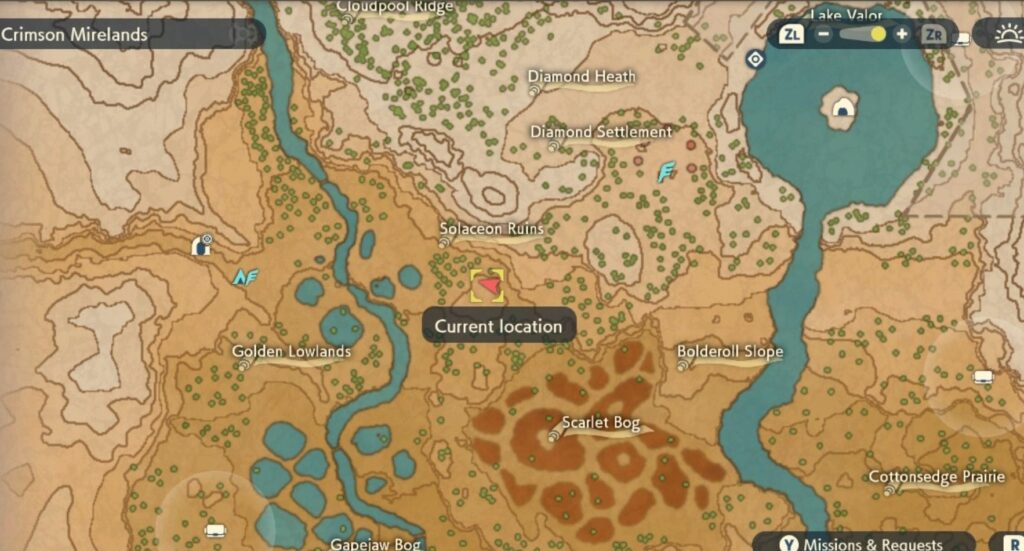
Nine of the Crimson Mireland’s wisps may discovered at the map’s top, which is famously difficult to reach for certain fans. Numerous fans can easily find many of these purple wisps along the route as they try to complete a section of Pokemon Legends: Arceus and its plot. Some landmarks should aid anyone who are having problems finding them.
Cloudpool Ridge
The first wisp can be located across the river from Miss Fortune’s campground, in the open. Players can follow a higher ledge with a path of trees to find a second wisp at the end if they either climb up the ledge with Sneasler or work their way to the top along the other end of the map with Wyrdeer.
Another wisp can discovered in the northern section of Cloudpool Ridge, alongside the rock walls blocking the meadow. Fans should be wary of the Alpha Pokemon that may be lurking around. Atop the cliffside before the Shrouded Ruins, to the northeast of Cloudpool Ridge, lies another wisp at the very tip.
Settlement Of Diamonds
The fifth wisp can be located atop the Diamond Clan Settlement’s surrounding mountains. If fans look closely, ledges serve as excellent stairwells for Wyrdeer, allowing fans to easily capture the spectre. The following wisp may necessitate some deft fan positioning.
A wisp sits on the right side of Lake Valor’s opening, although the ledge is somewhat high above. To get the wisp at the top, fans may need to carefully manoeuvre around the area or use Basculegion or Sneasler. Another wisp on a ledge by the river’s left bank can found further south of the river. Despite its modest size, the ledge is difficult to navigate, therefore fans should either crouch or utilise Sneasler.
A massive mountain to the northwest of the cliffside ruled by an Alpha Pokemon. A wisp stands on the left-hand side of a slope leading to the giant monster, waiting for players to capture it. The final wisp in the Crimson Mirelands may be located in the Solaceon Ruins, just east of the Alpha’s hill. As it lies on the edge of an overlooking cliff, fans should be able to spot it and seize it with Wyrdeer’s assistance if they keep their eyes open.
Lower Map Of The Crimson Mirelands
Whereas the wisps on the top of the Crimson Mirelands were reasonably close together, the bottom has more of the spirits strewn throughout in different spots, requiring a lot of help from the Ride Pokemon in Pokemon Legends: Arceus to get them all. Still, if supporters know where they’re going, the time it takes to gather them all may halved.
Cottonsedge Prairie
Because the camp is on the left side of the map, the right-side wisps are a little more tough. Fans should stay to the right of the river after claiming the wisp near Bolderol Slope to eventually find where the stream curves in a different direction alongside a cliff. They should approach a large rock with a vivichoke on it, as well as a wisp nearby. Staying on the right side of the map, Droning Meadow to the southeast should have plenty of dips and hills for players to climb. Players may also find some rare Pokemon to add to their Pokedex.
Also Read:How To Use Crystals In Dying Light 2
A wisp should perch atop one of the last ledges to climb in the extreme back of this section. Players advised to proceed west to cross the river with that wisp in hand. A high mountain just across from Droning Meadow has a wisp perched atop its peak, almost as if it were on a pedestal.
From there, fans should return to Droning Meadow, as another wisp can found against the map’s edge further southeast, adjacent to a cliff’s edge, if they can identify the corner it’s lurking in.
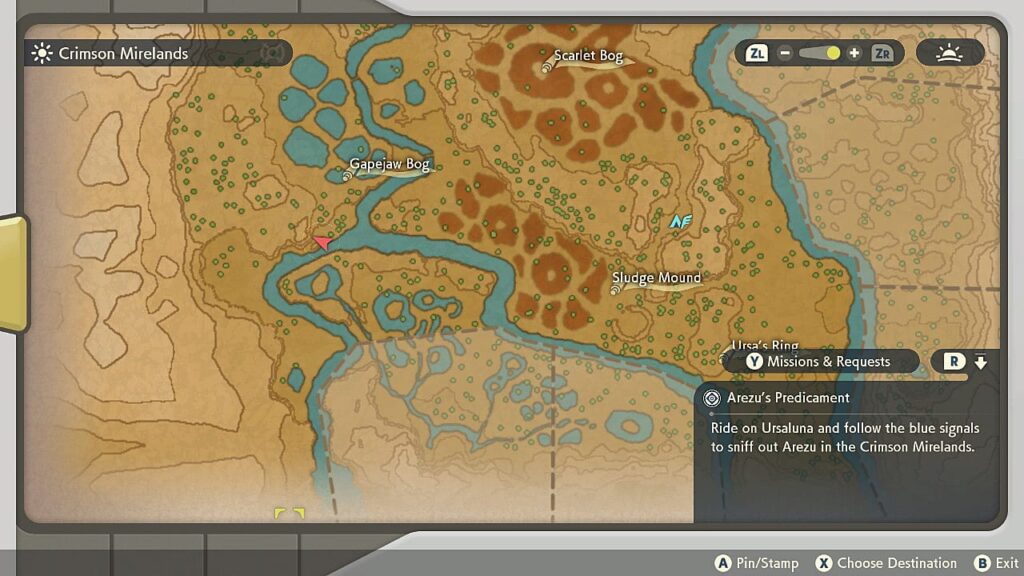
Bog of Gapejaw
Players should now return to the left side of the map to begin collecting the final seven wisps they’ll need to finish the Crimson Mirelands and resume catching Pokemon. Players should cross a second wooden bridge just before reaching Gapejaw Bog. There should be a wisp out in the open on the right side of this bridge. Players should notice a divide between ledges with trees growing within them as they travel west, which practically disappears in the horizon. This road should followed all the way to the finish, as it leads to the third wisp in this location.
There should be two ledges next to that wisp. Players should utilise the map to scale the hill to the south and go farther down the region to reach a ledge on the right that houses a separate small ghost. With this, players left with only four wisps to find, and they’re a little tricky.
The Crimson Mirelands’ Last Four Wisps
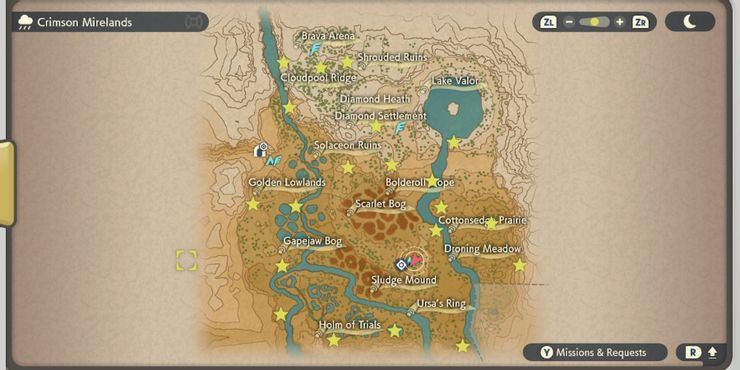
The final four wisps lie along the edge of the area and can be accessed with little exploring once players leave Gapejaw Bog behind after battling and facing several of the Crimson Mirelands’ Pokemon. After obtaining the wisp above the bog’s crest, players should keep to the left, hugging the river’s left bank.
This will eventually lead them to a little puddle of water, where they will find a ghostly spirit waiting for them to steal it. Due to fortifications restricting their passage from that point, fans should return up the river and continue east to the Holm of Trials. Fans should see a circular curve of numerous ledges, much like steps, with a wisp perched atop them once they arrive.
The only option from there is to travel east. Fans can ultimately find another pool of water by following the water, but this one has a little slope in the centre. There will be a wisp atop the hill, but players must be cautious because an Alpha Pokemon like Hisuian Sligoo may be resting there as well.
With the spirit in hand, supporters should proceed eastward until they reach a new river. Fans must cross it one last time to return to the map’s edge, where observant gamers need just find a few more ledges beside a cliff face to climb it and reach the final wisp halfway up the side of the cliff.
On Nintendo Switch, Pokemon Legends: Arceus is currently available.