
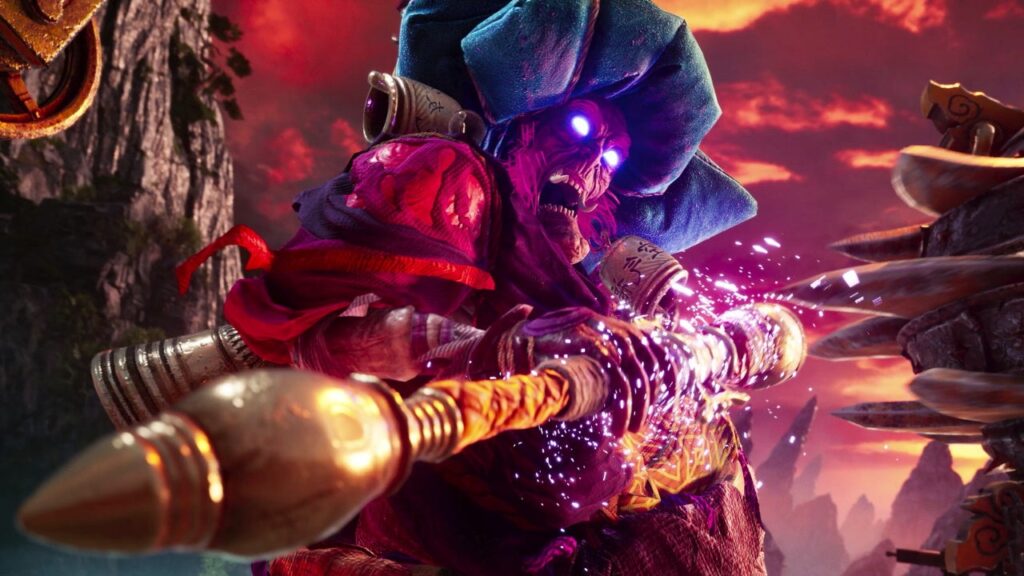
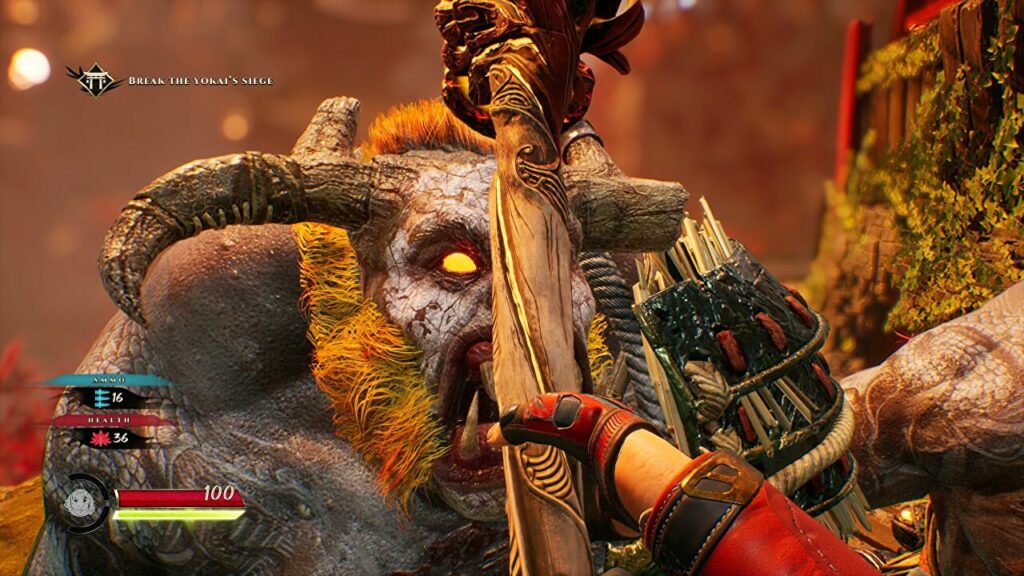
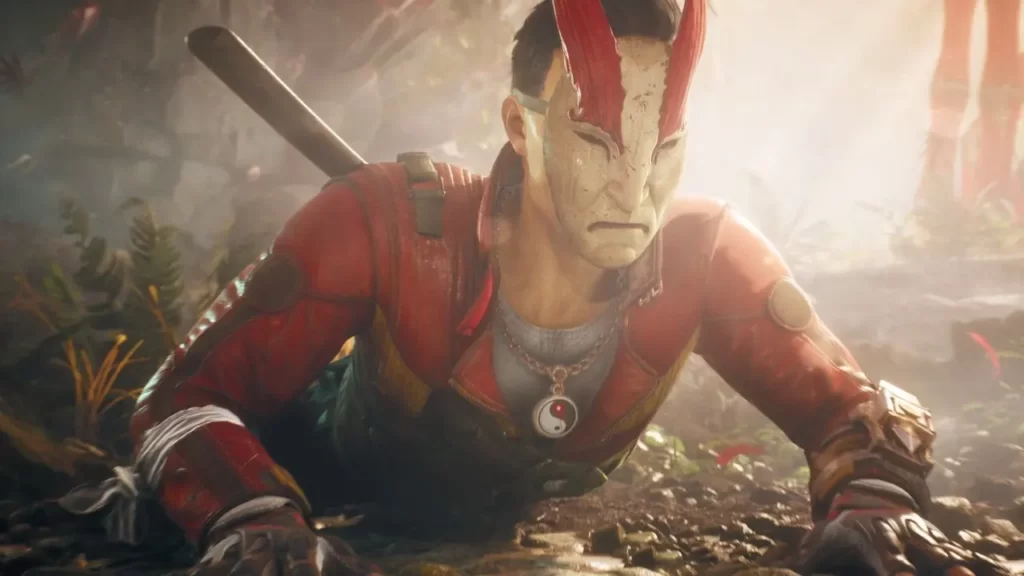
How To Find All Character In Shadow Warrior 3. Players in Shadow Warrior 3 will fight in arenas against a wide array of creatures. You can upgrade your weapons and character as you travel through the game and conquer objectives. Today, we'll show you where they are and how to gain all of the game's improvements.
There are a total of 77 upgrades, with 49 for weapons and 28 for characters. These enhancements are represented by spheres in two colours: grey and purple. The majority of them may be earned by exploring locales, while the remainder can be obtained by passing exams.
Upgrades can be found distributed around the places till the end of the chapter. In most circumstances, if you miss an improvement, you won't be able to make it up. However, if you haven't reached the chapter's conclusion, you have the option to restart it. All acquired spheres will remain in the inventory in this instance, and you will not have to seek for them again.
Table of Contents
Battle Challenge Improvements
Battle trials begin in the second chapter, and you may keep track of them in the same-named menu item. To finish them, you must fight a particular number of foes or meet certain requirements.
Weapon Upgrade:
- Kill 100 foes with a katana in Blademaster.
- Kill at least two foes with a single Crimson Bull projectile 15 times in the Danger Zone.
- Amazing! - With the Shurikin Launcher, kill 50 demons.
- Kill at least two adversaries with a single katana strike 15 times to unlock Multi-Strike.
- Melee - Kill 50 foes at close range with the Rebel.
- Bull's-eye - With a headshot from a bandit, kill 25 foes.
- Kill at least three demons in 5 seconds utilising a variety of tactics, including the katana, ranged weapons, and environmental components.
- Target Shooting - In a hot air balloon, kill 25 kugutsu without letting them land.
- Death from Above - Kill an adversary 5 times with a Basilisk shot while in the air.
Character upgrades:
- Doctor Dick - Recover 5000 health points in total.
- Survivor - Kill 25 foes while you're on the verge of dying.
- Kill 100 opponents using Battle Scraps in Demon Anatomy.
- Collect 100 supply boxes as a supply collector.
- One-Punch Man - Use Chi Burst 100 times to knock foes back.
- Please, please, please, please, please, please, please, please, please, please - Use a fire barrel explosion to kill 50 monsters.
- Take a look beneath your feet! - Use Chi Burst to push 10 foes off a cliff and kill them.
- Kill 25 adversaries following a hook attack in Head to Head mode.
- Run and shoot - immediately after wall running, kill 10 demons.
- Defeat 50 opponents with an electric or ice barrel debuff.
All improvements in Chapter 2

Character Upgrade #1
This is an enhancement that should not be overlooked. We start the chapter by moving forward in time and picking up the sphere on the rock.
Weapon Upgrade #1
We go to the ruins in front of the arena after getting the grappling hook and inspect the outside of the destroyed column.
Weapon Upgrade #2
When the bridge collapses and we face the first tough monster in a cut-scene, we hop to the right and find an improvement.
Character Upgrade #2
We move to the arena and defeat the creatures after the previous upgrade. Follow the road ahead when we open the door.
Character Upgrade #3
We slide down and run along the wall as soon as we pick up the preceding sphere. We turn around and jump to the platform. Leap onto the stones, and behind the wall, we notice an improvement.
All improvements in Chapter 3
Weapon Upgrade #3
When we're hunting the Tanuki at the start of the third chapter, we'll come upon this. We check the rise on the right after the second run along the wall. We climb on top of it and discover that it has improved.
Weapon Upgrade #4
The monster Laser Shogun is introduced after the first arena in this chapter.
Weapon Upgrade 5
When the Tanuki first jumps into the water, go to the left instead of chasing him. We dash along the wall till we reach the sphere.
Character Upgrade #4
You must run along the walls above the sea after going through various arenas. We will see an improvement as we approach the cliff on the left.
6 Weapon Upgrade
We exit the arena and find a platform with a tree where we meet the Mogur Twins. We proceed down and around the right-hand tree. The sphere is located here.
All improvements in Chapter 4
Character Upgrade #5
We face the Seeking Axes at the start of the chapter before climbing to the dam. When everything starts to crumble at the very top, we turn left. We notice a difference between the boxes.
Weapon Upgrade #7
Even during the battle in the arena, soon after we descend from the dam, the sphere may be seen. You can come back to it later. We go a step farther and choose the Basilisk weapon. To get to the other side, use the hook. We climb higher, and hares can be seen on the ledge. We investigate the right-hand wall, which leads to the sphere.
Also Read: How to get skeleton keys in Tiny Tina's Wonderlands
Weapon Upgrade #8
If you've already found the previous improvement, keep climbing higher on the boards until you reach a point where you can reach the arch's top.
Character Upgrade #6
We make our way back to the main road and along the boards. We choose one of the two waterfalls to modify. It is, in a nutshell, not to be missed.
Weapon Upgrade #9
Following the previous character enhancement, we continue upward and come across a grey sphere. It's also difficult to overlook.
Weapon Upgrade #10
We arrive at the arena's entrance but do not activate it. Instead, we see a hole in the wall when we turn around. We go forward and discover the sphere's ascension.
All upgrades in Chapter 5

Weapon Upgrade #11
When we first arrive on a small island populated by hares, we shift the camera to the left and notice a rise. We progress by climbing higher and higher.
Weapon Upgrade #12
After destroying the enemies in the first fight arena, we cling to the hold with a hook and rise higher. A blocked grasp can be seen here. We take aim at the vines and push ourselves even higher. Finding a way to improve.
Character Upgrade #7
After passing through the first fighting arena, we continue on to the only wooden bridge. Return after crossing the bridge. We can see a grip here if you lift the camera. We find a spherical and attach to it with a hook.
Weapon Upgrade #13
We make it through the second fight arena and solve the three-platform puzzle. To get to the other side, the third platform must be lowered. However, if you stay on the platform and wait for it to rise, you will notice a difference.
Weapon Upgrade #14
Following the preceding sphere, we descend and proceed down the plot. An improvement is just around the bend.
Weapon Upgrade #15
The second level of development takes place in the arena, where we learn to know the Hatter. We find a button in the ceiling that initiates the lifting mechanism to get to it. Climb to the top, then dash with a double jump.
Weapon Upgrade #16
The road to the right is found within the bamboo grove when we find a new weapon called "Surikenomette." A sphere sits in the middle of the plants.
Weapon Upgrade #17
We continue forward from the previous improvement and find the wrecked structure on the right. A sphere can be found on the left side of the boards. We climb to the second storey of the building and use a double leap to get to the boards. You're unlikely to miss the upgrade because this is a plot path.
Weapon Upgrade #18
We arrive in a challenging arena and must contend with monsters. There is a long run along the wall in the far corner of the place. If you run here, you will see multiple yellow blooms in front of it. We fire at them and remove the sphere.
Weapon Upgrade #19
We can lower the bridge in the same arena once we've defeated all of the creatures. We stop on the bridge and turn the camera to the left. Rip the yellow vine out of the way and sprint along the wall to the upgrade.
Character Upgrade #8
Returning to the bridge, we proceed forward. The sphere is in front of the statue in the room.
All improvements in Chapter 6
Weapon Upgrade #20
We leap from the raft and face the arena's beasts. Above the water, we can see the hook's grasp and the improvement beneath it. We select the spherical with the grip.
Weapon Upgrade #21
We climb the rock according to the plot and witness an improvement right after we defeat the opponents in the second arena.
Weapon Upgrade #22
We do not immediately leap aboard the raft after receiving the previous upgrade; instead, we approach the edge and turn around. A rise may be seen here, and much higher up is a yellow vine. We've gotten rid of it and are on our way to the sphere.
Character Upgrade #9
Grab the grappling point with a hook and turn the camera to the right when the raft hits the waterfall and breaks. Another grasp that goes to the cave can be found here.
Character Upgrade #10
We finish the third fighting arena and investigate the wooden bridge that has been damaged.
Weapon Upgrade #23
We use the hook to ascend to the clearing with the rabbits from the previous sphere. A dog statue can be found here. We circumnavigate it and discover a hole in the rock.
All improvements in Chapter 7
Weapon Upgrade #24
We ascend the stairs after the first combat arena and enter a rabbit-infested clearing. A sphere in a small cave is visible when we turn the camera to the left.
Weapon Upgrade #25
Continue the plot from the previous sphere. We notice an improvement on the right-hand rock.
Character Upgrade #11
We travel across various venues and meet Oboru-guruma, a new monster. The retractable platforms must be activated immediately after that. Turn left at the first platform and jump onto the second. When we turn around, we discover a hole in the wall.
Character Upgrade #12
When we reach the third doomsday gadget, move around it and grab the sphere from underneath.
Weapon Upgrade #26
Returning to the gadget, we locate a location with a broken railing. We come down here and pick up where we left off.
All improvements in Chapter 8
Weapon Upgrade #27
We jump down from the cliff at the start of the level and notice an improvement on one of the branches. It's impossible to overlook it.
Weapon Upgrade #28
We continue on our way through the jungle until we reach the second capture spot. We make our way through it and then turn around. We'll see a hat of a giant mushroom on the left, which will lead us to the upgrade.
Weapon Upgrade #29
We continue forward after the first fight arena until the adversary attacks the hero. We can pick up the sphere in the same location.
Character Upgrade #13
We reach the branch's edge and turn the camera to the right as soon as we finish the last update. Several mushroom caps can be seen here, via which you can reach the manhole and improve your situation.
Character Upgrade #14
This orb is impossible to miss because it's right after the second battle arena on the story path.
Weapon Upgrade #30
Continue forward in the story until you reach a huge rise with a grappling hook point in front of it. Take it in your hands and climb up the tree trunk. Turn around and take a peek at the ground. You'll find the now-familiar mushroom caps to the left of the grip, which you can use to get to the sphere.
All upgrades in Chapter 9
Weapon Upgrade #31
This is an enhancement that should not be overlooked. After the first arena, we proceed forward and get to the second run along the wall. Immediately following it, we notice an upgrade.
Weapon Upgrade #32
We proceed upstairs and turn left before fleeing along the wall after beating the monsters in the second fight arena, where we confront the game's final demon.
Weapon Enhancement #33
We rush forward after the third fight arena and the destruction of the dragon statue to study the foot of the monk statue.
Character Upgrade #15
We turn around as soon as we find the prior upgrade and see the path to the pagoda. We leap off the cliff and choose the spherical.
Character Enhancement #16
We defeat the monsters in the ice cave's arena and climb up using only a few grips. This improvement is part of the story.
Weapon Upgrade #34
We ascend up the two barriers after the previous renovation and see a flying island in front of us. We leap onto its right-hand lower portion and remove the spherical.
All upgrades in Chapter 10
Weapon Upgrade #35
This is an enhancement that should not be overlooked. We'll climb the wall and observe the upgrade after overcoming the section with falling ice floes.
Weapon Upgrade #36
We continue forward from the previous sphere and arrive at a location where ice blocks will fall once more. We jump to the right-hand platform and descend considerably further. Here, we choose an upgrade.
Weapon Upgrade #37
Because of its location on the plot path, the orb is impossible to overlook.
Character Upgrade #17
We'll approach a wall that you can climb up almost shortly after the previous update. Instead, take a right and descend. Another ascent awaits us here, leading to the sphere.
All improvements in Chapter 11
Weapon Upgrade #38
We can find a little cave once we defeat the initial wave of foes and ascend the rocks. The main way leads to the left, but we can locate a better path if we climb into the hole on the right.
Character Upgrade #18
In the first fight arena, we defeat the demons and proceed. We arrive at two green areas where you can cross to the other side. Turn left instead of right and look for the third trampoline. He'll show us how to get to the sphere.
Weapon Upgrade #39
We reach the fall after the second fighting arena and clutch to the grip. We turn back in mid-flight and re-grasp it. This is how we get to where we are now.
Weapon Upgrade #40
You will need to move along three green trampolines as we enter the dragon's interior. Turn around and leap onto the platform on the left before jumping onto the last, largest trampoline. This is the last sphere.