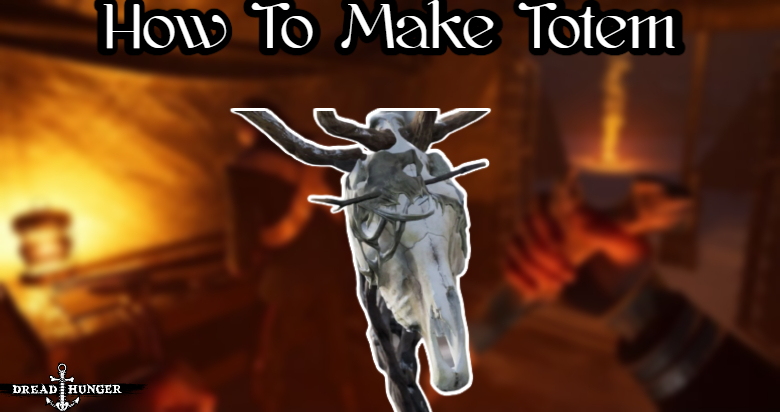
How To Make Totem In Dread Hunger. Thralls can use their skills more often by creating totems. Here’s how to put them together.
Dread Hunger is one of the most intriguing items to emerge from the buzz around Among Us. The now-iconic Indie Survival game. The Dread Hunger Team took Innersloth’s basis of players attempting to destroy a survival effort and went with it. As a result, a crew of players strives to break through an intimidating wall of snowfall. And sail to freedom in a 3D journey through harsh ice-filled waters.
Unfortunately for them, a few crew members on board their ship are not who they appear to be. Instead pledging allegiance to the Dread Hunger, a hungry creature that feeds its minions fresh food. Players will fight on opposing sides in each “round”. With the Thralls getting access to some rather interesting sabotage powers. That can utilized to strand the survivors and condemn them to a horrible fate. Thralls can even improve their skills by crafting Totems, which specialized goods. Here’s how Thralls can make Totems, as well as what they employed for.
What Do Totems Do?

To put it another way, Totems will aid Thralls in strengthening their three spells. Allowing them to use longer-lasting powers and more devastating “attacks”. Because Totems can stacked. Thralls will want to try to place as many Totems. As they can while trying to eliminate rest of surviving crew. It’s vital to note that Totems don’t work “right away,” but rather take time to charge up a Thrall’s abilities. By carrying a Bone Charm in one hand, players will able to tell if an ability “charged up”. A wheel icon with many “spikes” will appear towards the bottom right corner. Each of these spikes will represent a charge level. Placing numerous Totems can speed up the rate at which players earn levels and charge spells.
ALSO READ: How To Make Poison In Dread Hunger
The following is a list of what Totems can perform for each spell in a player’s arsenal:
- The duration of Spirit Walk will rise from 15 seconds. At Level 1 to 20 seconds at Level 2 and 25 seconds total from Level 3.
- For 50 seconds at Level 1, 70 seconds at Level 2, and a total of 90 seconds at Level 3. The Whiteout will cause visibility concerns.
- The summoning of Cannibals will send four bloodthirsty A.I. towards a Level 1 opponent. At Level 2, there are 6 cannibals, and at Level 3, there are an army of 8 cannibals.
How To Build A Totem In Dread Hunger

Thankfully, Totem construction in Dread Hunger is relatively simple. To build a Totem, players will need to acquire the necessary materials. To make 1 x Totem, you’ll need 1 x Bone and 3 x Wood. Players can access the Totem in their build wheel once they have collected the materials.
Wood can found easily by exploring the environment or dismantling wooden artifacts such as Wood Crates or Grave Markers. Bones are a little more difficult to get by, but they shouldn’t be too difficult to come by. They can found on the bodies of deceased crew members. Or snatched from Skeletons that buried beneath the ground and must unearthed with a Shovel.
Totems: Useful Hints

Totems may greatly help a Thrall win a fight by providing them powerful Spells. That will go a long way in destroying any player’s attempt to sail to freedom. It’s worth noting that Totems can removed by other players. Thus Thralls should avoid placing them in high-traffic areas or places where survivors might be able to see them readily. These Totems will also emit a “whisper” that can heard by survivors. As a result, Thrall players should be careful where they place their items and disguise them effectively.
Multiple Totems can stacked to reduce the length of time it takes for a Spell to charge a level. For example, a Level 3 bonus proc will occur at approximately 10 minutes and 33 seconds for one Totem. With four Totems in situ, the charging time lowers to 3 minutes and 45 seconds.