Raft Starter Raft Guide.Building the ideal starting foundation is the most difficult aspect of Raft, aside from the survival aspect. It is only logical that you build a good raft because you will spend the bulk of your time on it. Make sure it has everything you need on it. It can soon get overwhelming because there is no limit to your inventiveness. But don’t worry, we’ll show you how to construct the ideal beginning raft!
We do not advise building a fancy raft with many floors, although you certainly could. To begin with, we advise keeping the raft as small as possible to facilitate movement and safeguard it against shark attacks. Plus, having only the fundamentals on your starting raft is the best way to go. Once you feel secure in your raft, you can easily add more material and expand it further. With that said, let’s get started and examine how to construct the ideal beginner raft.
How to Construct the Ideal Starter Raft Base in Rafting
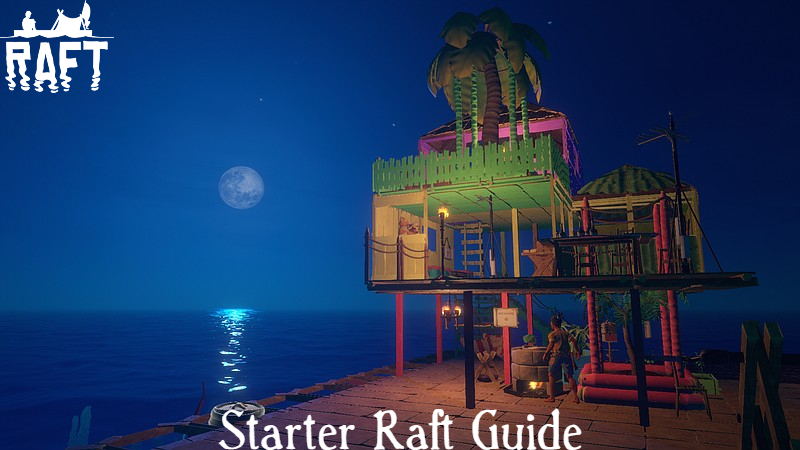
You’ll be on a plank-built 4 by 4 raft when the game first begins. As soon as the game begins, you should update your planks. Remember that upgrading the foundation requires a few resources, so make sure you go collecting frequently. Additionally, we currently do not need to upgrade it more than once. The main goal of doing this is to give your foundation more HP so that they can withstand more damage.
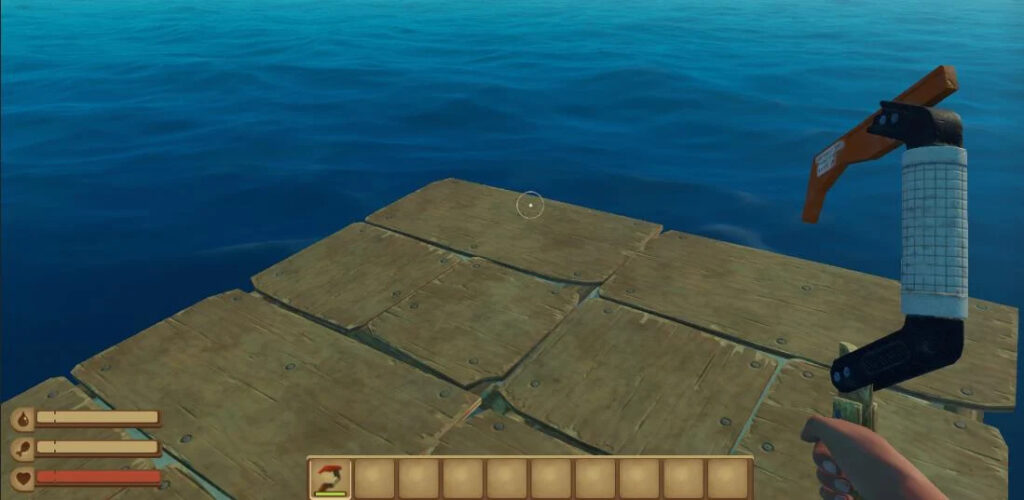
After that, construct two platforms, one on each side (a total of 4 foundation blocks). Then, expand your raft further by putting a layer of foundation on the backside. Since the game leaves it up to the player to determine which is the raft’s rear, you will have to make that determination for yourself.
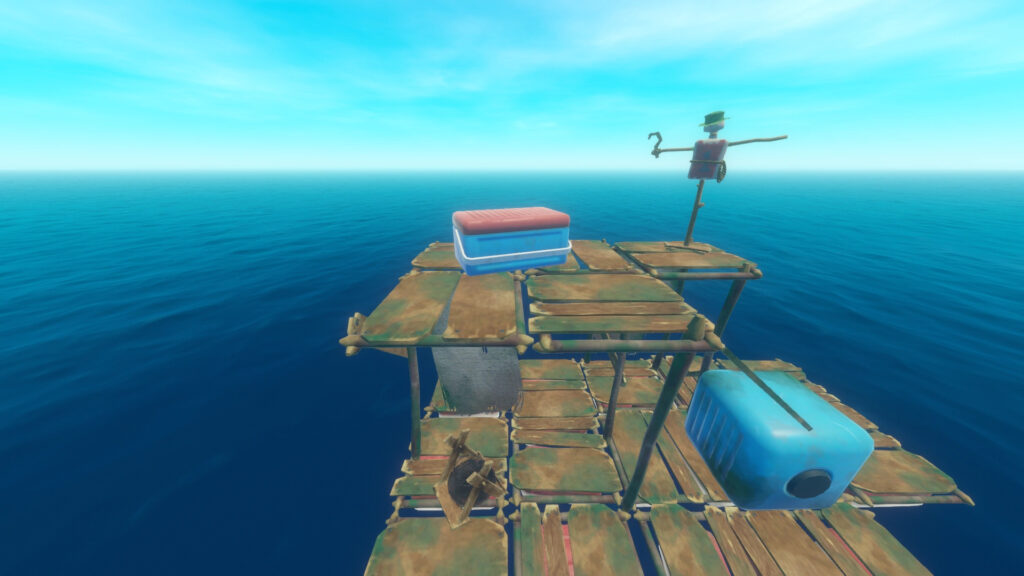
Once you have done the sides and the back, you’ll want to create just two foundations on the front and grow it along with your raft. After doing that, remove the foundation that is linking the front of your raft to this larger area. Your collection nets will be located here. In case you were unaware, the collecting nets will gradually gather different types of marine trash.
You will observe that as you move, your nets are catching wood, boards, and other helpful stuff that you can use. Of course, not all of these things will be helpful; some of them will be pointless, in which case you can safely throw them away. The ability to acquire resources without always diving far underground to look for them depends on having a variety of gathering nets.
We can increase our raft by an additional four platforms now that we have room for our collection nets. Use the triangular foundation at the corners to give your raft some shape and visual appeal. Otherwise, it’ll seem really bland and monotonous. Another thing to keep in mind is that the Solid Foundation will use more wood, therefore you should utilise the regular foundations instead.
It’s time to go even further than that now. 15 platforms should added to the sides of your basic centre blocks. Follow one straight path. You’ll understand why eventually, I promise. Additionally, I am aware that it is simple to advise you to extend and employ new platforms. But you’ll have to dig out a tonne of materials from the sea. Sharks should avoided, though. Additionally, you have to keep an eye on your water, sleep, and hunger metres.
To maximise your collection net usage, there has been such a dramatic expansion. You can gather as much trash from the water with the help of this raft. The increased likelihood of collecting debris means you’ll receive rare goods and much more. One thing to have in mind is that, particularly if you are a rookie player, preserving such a sizable raft can be challenging. Therefore, I advise that you do not expand as much sideways if you anticipate having trouble safeguarding it. Instead, only travel to places where you are confident in your ability to handle it.
How To Make
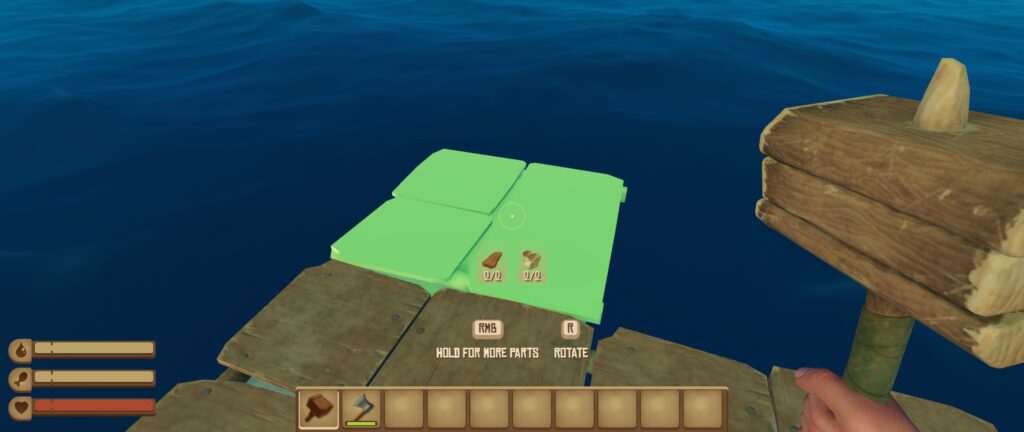
After growing, start laying your collection nets on your raft. To get them, you need to craft them using the crafting menu. If you don’t have enough supplies to make so many nets, you might put more emphasis on the centre of the raft and use that to connect the two platforms. The actions I describe in this article not intended to taken all at once. Getting the materials you need to get here will take a lot of time. Take your time, and then broaden when you’re ready.
After growing, start laying your collection nets on your raft. To get them, you need to craft them using the crafting menu. If you don’t have enough supplies to make so many nets, you might put more emphasis on the centre of the raft and use that to connect the two platforms. The actions I describe in article not intended to taken all at once. Getting the materials you need to get here will take a lot of time. Take your time, and then broaden when you’re ready.
We may begin building the walls and windows of our raft now that the main foundation has completed. Start putting walls on your first platform and use the half walls at the corners so that you may use them like windows and observe where you are heading. To maximise the look, add a small window to the half wall. I propose that you do not utilise the Solid Half Wooden Window since it can be difficult to see from it.
Place the stairs as seen in the top image after establishing your walls. This will allow you to create the second floor of your raft. Additionally, by placing the stairs here, you may create a tiny area where you can put your furnaces.
Also Read: How To Fix Shower In Deadly Premonition 2
Your furnace room should look a little something like the image above. By doing this, you can make the most of your available space without having to dedicate an entire room to it. Place a few pillars next to your stairs so that you may begin building the second floor. Next, lay the groundwork for your raft’s second floor, which will serve as additional storage space.
On the side opposite the stairs, be sure to utilise two little gates and half walls. When you return from your explorations and want to board your raft, this will be where you land. Place two triangle blocks in front of the two doors to create a small landing space.
Your raft should resemble something like this after creating the front and adding the platforms above your stairs:
For a more attractive appearance, fences like those in the image above can added. Additionally, it aids in preventing haphazard falls when walking. Use whatever you like, though—that is all up to you. We may now add objects to your raft as the main framework is complete.
Put your mattress on the platform next to the steps.
You will have a secure place to sleep thanks to this. To store all of your priceless wealth, you can also construct more chests to the right side of the staircase. You can stack two chests on top of one another in the spot I specified, giving you a tonne of storage capacity. Additionally, you won’t need a lot of storage in the early game.
Now, install the radio on top of the second story where it is open and can receive signals easily. This will provide you with a convenient location to operate it without any obstructions. Place one antenna on the opposite side of the first one, adjacent to the stairs, and the second one to its left. The third one must situated across from the radio tower. This will enable trouble-free, flawless device operation for you.
Additionally, you can keep animals in the remaining area on the second floor so that you can later harvest them. This merely the fundamental framework I outlined. This raft can made larger by adding more stuff that you will need. You can place items as you advance through the game because not everything will unlocked at the beginning. Since you have the fundamental framework, you can put them wherever you like. Place steps on the entry platform and build upwards from there if you wish to create another storey. There, you can store anything you need, including your farming equipment.
That pretty much sums up how to construct the ideal beginner raft. You’ll need to put a lot of effort and time into this, but persevere, and you’ll succeed. Additionally, you expand it in any way you see proper once the core building finished. To maintain your raft and carry on exploring, you can keep adding additional gear. Just be careful to gather the net debris whenever you have the chance, and watch out for sharks.
Would you please share your opinions on this design and whether you believe it to be successful? Share your creations with us in the comments section below as well!