How To Put Two Pictures Side By Side In Google Docs. On Google Docs, editing photos is quite simple. However, managing several photos, such as keeping two photographs side by side, becomes challenging. But don’t worry. In Google Docs, you may align two images side by side in three different ways: utilising tables, scaling images, and importing images from Google Drawings. Each strategy has an advantage over the other. Let’s examine the procedures.
Table of Contents
Through Image Resizing
Resizing the images is one of the simplest ways to add two pictures side by side in Google Docs. The photographs will then placed side by side automatically.
To keep photos next to one another, take these actions:
- Start by opening the Google Docs file.
- Put the cursor where you want the first image to go. then select Image > Insert. Choose the location where you want to add the image, such as your computer, the internet, Google Drive, etc.
- Decide which image to include. It’ll seen in the document. Insert the second picture similarly.
- To reduce the size of the first image, click on it and drag one of the corner borders inside. Reduce the size of the second image in a similar manner.
- When you resize the photographs to the proper size, they will typically automatically appear side by side. If it doesn’t happen, use your mouse to drag the second image over to the first image. Ensure that the two photographs are the same size and that the first image isn’t larger than the second image for optimum results.
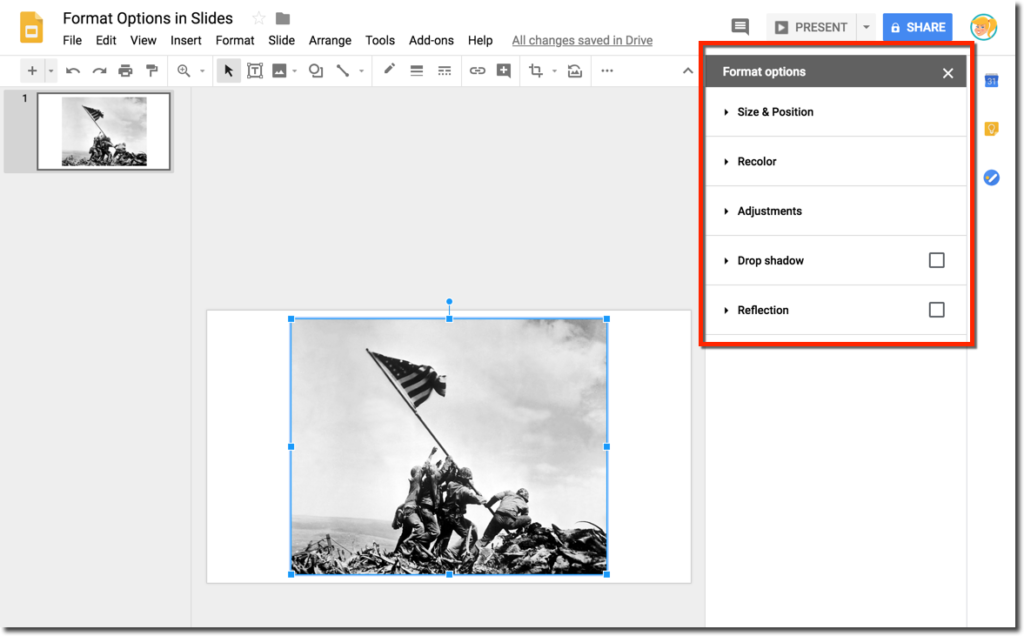
Pro Tip: Use the right-click menu to crop an image and carry out various editing functions that can found under Image settings.
Utilizing A Table
The disadvantage of the aforementioned approach is that, due to size considerations, it could not always function as expected. Thankfully, Google Docs allows you to put two photographs side by side using tables. This approach gives you greater versatility because you can change the size of one image without changing the size of the second image. Additionally, you are free to create as many columns or rows as you like, followed by the addition of an image in each one.
In order to use this technique, you must first insert a table with two columns, then add a picture to each one. The table border needs to taken out, last but not least.
The detailed steps are as follows:
- Place the photos where you want them to appear in your Google Docs project.
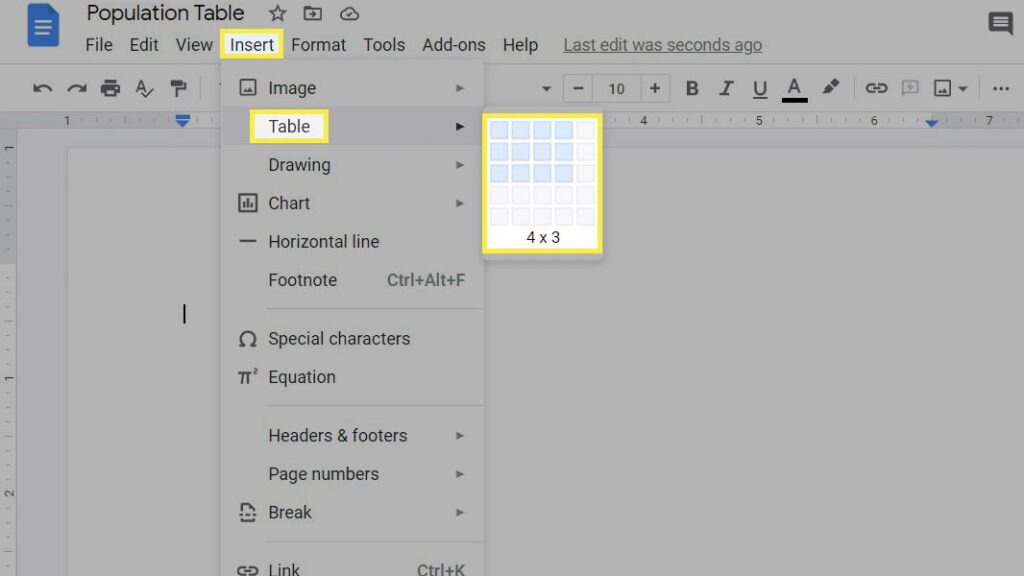
- Select Table > Insert. Choose the 2-1 table.
- While still positioned in the first column, select Insert > Image. Choose the desired source for the image.
- To add the second image, maintain the cursor in the second column and select Insert > Image once more.
- You must remove the table border after placing both photos in the table’s two columns. Hover your cursor over the table and right-click on it to accomplish that. From the menu, select Table properties.
- In the Table properties panel that appears on the side, expand the Color section. In the drop-down menu for Table border size, choose Opt.
Also Read:How To Print Google Docs From Your Phone
Your table’s border will removed as a result, allowing your photographs to appear side by side.
Pro tip: Get familiar with Google Docs’ table of contents functionality.
Making Use Of Google Drawing
You can also use Google Drawing to store two images side by side in Google Docs if the above two approaches don’t meet your needs. The two photographs will grouped in the document as a result of applying this technique. Both pictures will impacted by any adjustments you make to the final one. Instead of using two different photos, you can resize the images and alter how the text wrapped.
You can specify the distance or proximity between the two photos using this technique in your paper. The two images can even used in further Google Docs papers or other Google applications that allow Drawings. Additionally, you can save the two parallel photos as a collage and use the image outside of Google products.
To make a Google Drawing with two images placed side by side and add it to the Google Docs document, follow these steps:
- Keep the cursor where you need to add the images in your Google Docs page.
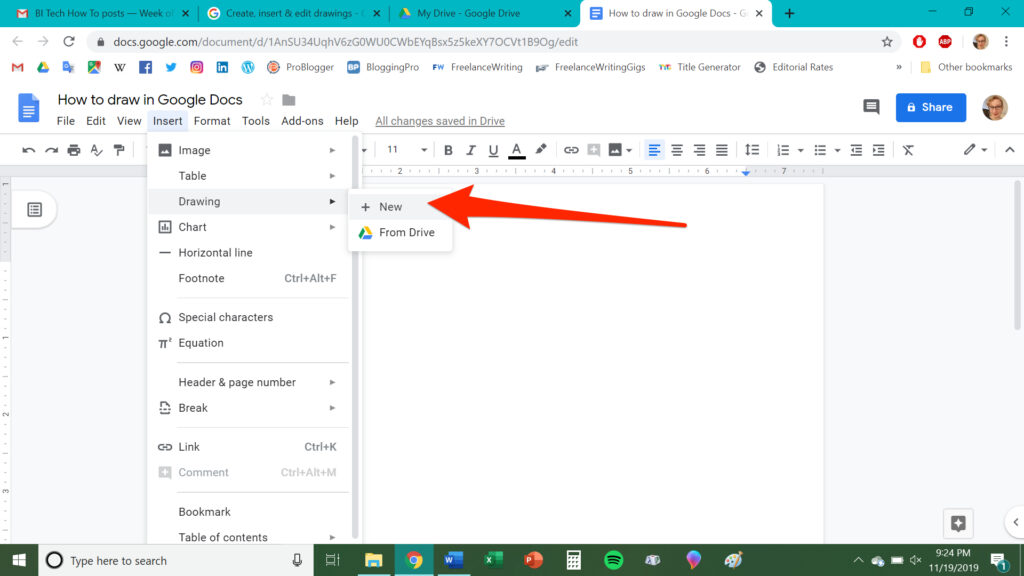
- Select New from Insert > Drawing.
- The panel for drawing will launch. To insert a picture from the chosen location, such as a computer, Google Drive, a URL, etc., click on the Image icon.
- To add the second image, once more click on the Image icon in the Drawing window.
Pro tip: Use Google Drawing as your only tool for individual image editing.
- Use your mouse to drag the second image adjacent to the first image if it initially displays on top of the first image. Click the Save and close button once the photographs are side by side.
Pro Tip: Get familiar with Google Docs’ layering capabilities.
- Your Google Docs document will display the two photographs side by side. The photographs will grouped, as previously mentioned. Therefore, any alteration you do will applied to both photos.
Tip: On your computer, make a collage by placing two images side by side. Next, upload the collage to your Google Doc.
Change Images In Google Docs

After aligning two images in Google Docs, see how to add text to images. The text can used to watermark or annotate the image. Additionally, learn how to download photos from Google Docs if you enjoy using them in documents.