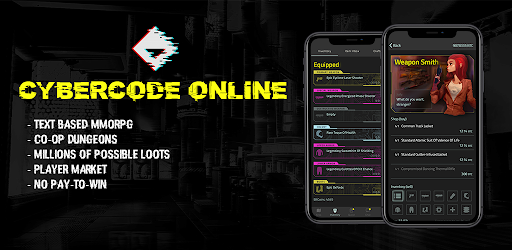
Cybercode Online Beginner Guide. CyberCode Online is a brand-new text-based, cyberpunk-themed online role-playing game. Players will begin their trip in Shangri-La City, a lively town populated by people from all over the globe, in this game that is set in the far future. Then, as you establish your reputation, you'll take on different assignments and clean the streets. Are you prepared to enter the CyberCode Online world? By providing you with our CyberCode Online
Table of Contents
Cybercode Online Beginner Guide
It may be challenging to find your way through CyberCode Online's large and massive environment at first since the game is mostly text-based. We'll go over the fundamentals of the game and how to get your trip off to a good start.
Fighting Skills: Getting By in the Streets
The streets of CyberCode Online are dangerous for the average tourist, much like any other cyberpunk-themed setting. Combat is the foundation of CyberCode Online, and you'll need to battle off a variety of foes to live. In exchange, you'll acquire some lovely, sparkling stuff.
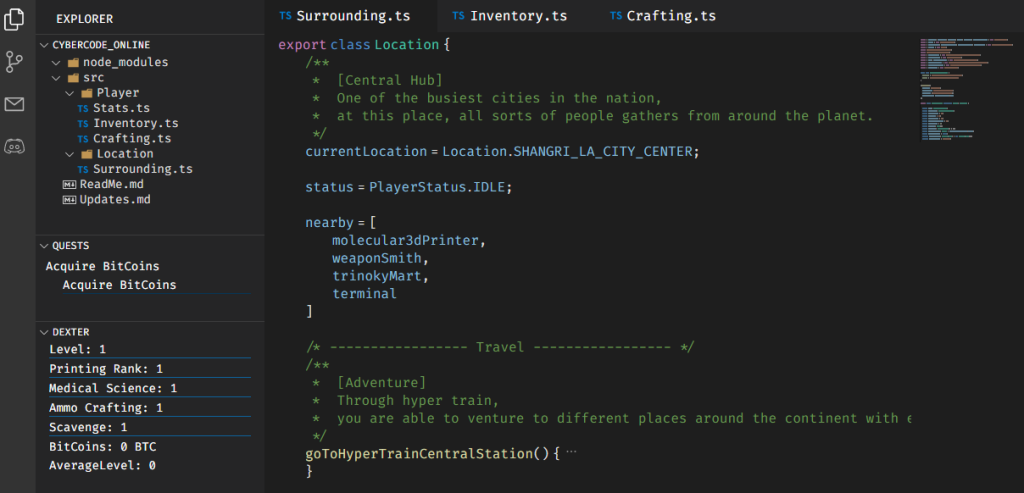
Go to the Hyper Train Central Station in Shangri-La City's travel area to begin. There are three primary stations: Flori, Hollto, and Torida. However, for the time being, you can only travel to Flori Station.
Each station is divided into three sections, and each section has a suggested level range, so be sure to visit the sections that are suitable for your skill level. For gamers of levels 1 through 4, let's begin at the Grecian Synagogue.
Once there, choose the nearby foes option to look for chance encounters. Choose from the list of foes you'll be given. Remember that you may only engage in combat with foes of a level equal to or lower than your own.
You'll note that certain foes have modified names in yellow rather than the more common white names; these enemies are tougher. If you're up for the challenge, take them on since they provide higher rewards, but be cautious!
When you're engaged in combat, three buttons displaying your health will appear at the bottom. From left to right, the buttons control your main, special, and destructive weapons. Choose it to attack with as you only have one major weapon to begin with.
But hold on! You've undoubtedly seen the gauge with the white line across it that is multicoloured. If you time your strikes well, you may deal extra damage. This is the attack timing bar. You will choose one of your weapons, and depending on where the white marker is, you will:
- Dark grey: Standard damage
- Gray area: Minor damage increase
- Area of light grey: moderate damage increase
- Yellow area: Major damage increase
In order to do the maximum damage, basically aim for the marker to be close to or in the yellow region. You will get treasure, experience points, and bitcoins (or BTC), the game's primary currency, as soon as you vanquish the adversary.
Congratulations! Your first foe has been vanquished. Get accustomed to battling since you'll doing it a lot in CyberCode Online.
Caches and printing as preparations
After taking off a few more foes, you should be able to find an item cache. As suggested by their titles, these caches include gear blueprints. You'll need to utilise the Molecular 3D Printer in Shangri-La City to make the equipment inside the cache.
The cost of printing item caches in BTC rises exponentially with the rarity of the cache. When you print a cache, the cache consumed in the process and you are given the item with the level that exactly equivalent to your printing rank.
From worst to finest, below are the rarity levels:
- Trash
- Common
- High calibre
- Rare
- Legendary
You should print as many of these caches as you can since they are the primary source of new and upgraded gear. It's crucial to remember that the equipment you find in the caches ALWAYS matches your printing rank.
Consider the scenario when you own a Legendary Special Weapon Cache and your printing rank is level 5. You may print the cache right away to get a level 5 legendary special weapon.
Because of this criterion, it may sometimes be preferable to keep caches, particularly if they are rare or legendary rarities. Higher rarity caches quite expensive to print in BTC, and if you print them with a low printing rank, they will probably rapidly outranked. At the end of the day, a legendary level 5 weapon is still a level 5 weapon.
Caches may sold or stashed for later when your printing rank is greater. Caches go for a lot of BTC. This becomes a feasible approach early on since BTC is an issue, so don't scared to use it because you'll probably discover additional high-rarity caches later on.
There are a few methods for raising your printing rank. It recommended to print off low-rarity caches to help you level up since every time you print an item cache, you will receive experience. Additionally, you can work AFK jobs, which we'll discuss next.
Taking AFK Jobs Will Help You Develop Skills and Farm Loot
Want to earn things but don't want to participate in the game? Here's where AFK behaviours come into play. Along with seeking for adversaries to battle whenever you enter a station, you may also do AFK activities, such as the following:
Send a drone operated by AI into the dungeons to battle for you with the Deploy Farm Bot command. This action gradually earns experience points for you. (Priced at 1 AI Core)
Scavenge: Look about the environment for objects, caches, and crafting supplies to get scavenge experience. requires a certain degree of scavenging expertise.
You will asked how many times you wish to do each of these activities. Although it may take longer the more jobs you accomplish, the benefits you get will be greater. Early on, you ought to be able to get by with only a few quick activities that shouldn't take more than 30 minutes.
Don't scared to employ AI Cores if you don't feel like manually grinding foes for experience points since you may get them via scavenging and random enemy drops.
Along with these local tasks, you may also work at AFK occupations to hone your crafting abilities. Go to the Shangri-La Commercial Area in Shangri-La City by going to the travel section.
These AFK tasks need no participation from you, much like the local activities. Simply wait the given period, and you will get prizes depending on the time you invested. Each of the five distinct crafting talents has a matching employment category. The whole list is provided here:
- Work at a printing plant: Can sometimes raise printing rank
- Hack a bodily modification clinic to further medical research
- enhance ammunition: enhances ammo production
- Reverse engineering scraps boosts printing quality and productivity compared to a printing facility (Costs 1 Tech Scrap, Tech Scraps can be acquired by scrapping old, unwanted gear)
- Start crypto mining to develop your mining abilities and earn Bitcoin (Costs 1 Hash Processor)
If you know you'll gone from the game for some time, get into the habit of taking on lengthy tasks. Even when you aren't actively playing the game, it will help you stay up to date with your character's development. Just keep in mind that you can never create at a level beyond your combat level, so you'll ultimately have to engage in battle.
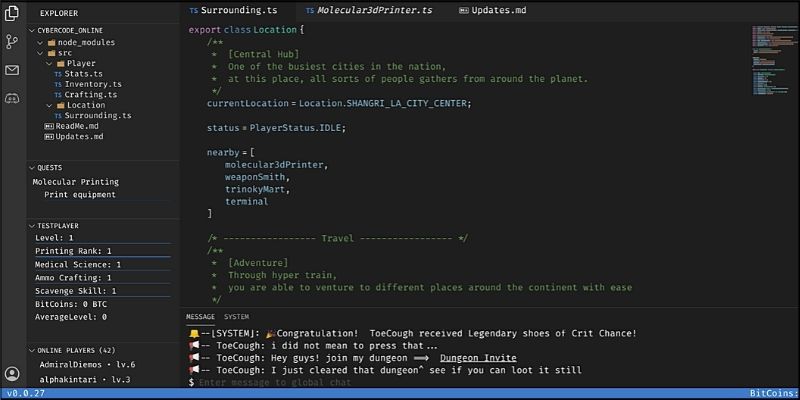
It should noted that sometimes other players will kind enough to apply a global skip boost, which accelerates everyone's AFK timings. A skip boost purchased if you ever see "skipping" followed by a number towards the top of the screen.
Global skips make AFK chores that much quicker to do.
It could be worthwhile to stop what you're doing and start an AFK task if you see that someone has enabled a global skip so you can profit from it.
Getting Key Fragments to Unlock New Stations
You most likely have a few fights, levels, and brand-new stuff under your belt at this point. You likely prepared to enter your first dungeon now! Dungeons explorable spaces that stocked with useful items, challenging adversaries, lore, and crucial pieces.
Dungeons may challenging because, unlike the haphazard adversaries you may encounter nearby, your health not always replenished after a battle. In a dungeon, you'll need to utilise Pain Away to recover your health.
We should discuss quick slots right now. Press the inventory button located at the bottom of the game menu. All of your equipped gear shown, along with three fast slots towards the top. Consumables that you place in your fast slots will be easily accessible during battles. Give your Pain Now a fast slot right away.
Let's begin by taking you to the first prison in the Grecian Synagogue. Hit the dungeons button instead of the nearby enemies button, then choose the default option. Later on, the two more challenges—challenge and gang—will become available. The dungeon may made public, allowing other players to join and assist you, which is always good.
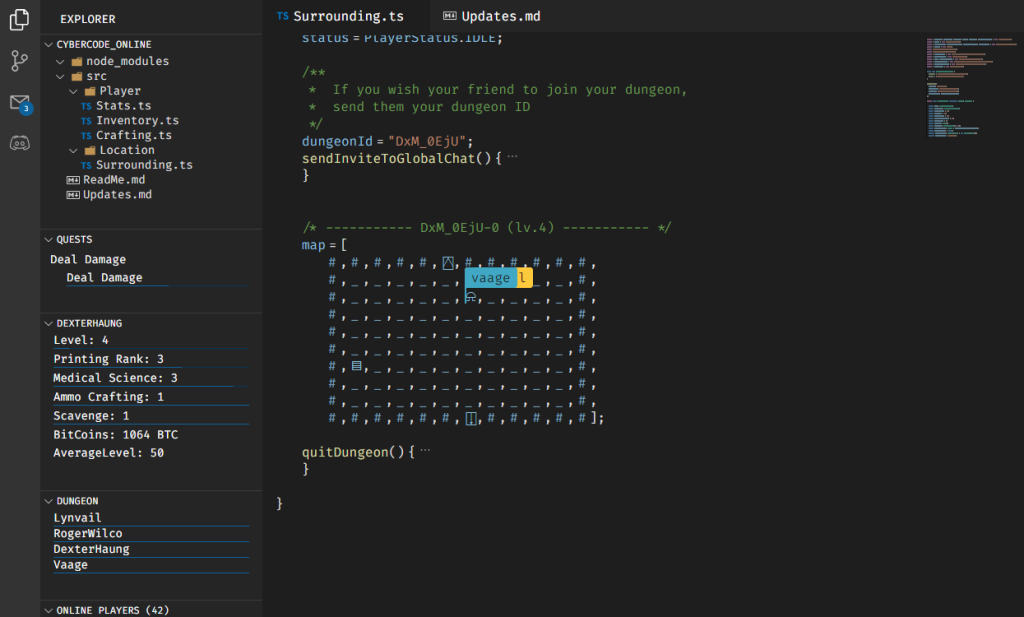
The dungeon, which represented by a number of letters and symbols, will where you end up as a result. To move your character, click anywhere on the screen. The object of the game is to defeat every monster in each area before moving on to the next one in search of the unique chest containing the key piece.
Given that you probably confused by all the symbols, here a brief explanation of each one:
- Player @
- Wall or obstruction
- ! – Lore
- ? - Side quest
- Scavenge point box
- enemy in a half-circle with legs
- Door to a new room marked on a box.
- Health rehabilitation station run by the Red Cross
Because you can't seek scavenge spots or leave the area until all adversaries are dead, your initial goal upon entering a new chamber should be to eliminate all foes. Make sure to top yourself up with Pain Away or go for a health recovery station since you should keep in mind that your health n't restored following dungeon combat.
You should come across a unique-looking box that you haven't seen anywhere else as you near the dungeon's finale. You're mostly searching for the dungeon key piece, which is located in these boxes.
The unique key fragment boxes resemble dressers in certain ways.
One key fragment is present in each of a station's three zones, and after you get all three, you may open the door to the next station. In the Grecian Synagogue dungeon, for example, lies the first part of Flori Station, while the other two sections are in the dungeons of the Graffiti-Covered Flori Pub and Glittering Flori Theatre.
Advanced Combat: Recognize Your Foe
You are probably nearing level 10 at this time. We're glad to hear that you've made progress thus far, and we expect that your conflicts have already had a few close calls. Here a few additional combat-related tips you should be aware of since the adversaries are only going to grow stronger from this point on.
By now, you've undoubtedly acquired unique and devastating weaponry, so let's go through the distinctions.
The least damaging of your three weapons is your main one, but it doesn't need ammunition to fire.
Lasting Advice
That pretty much covers all you need to know in order to thrive in Shangri-La City. To earn experience points and Bitcoin, go out and engage in street combat with random criminals. You may also utilise item caches to print new equipment, engage in AFK tasks to train while you gone, and explore dungeons to unlock new stations.
Early on, you shouldn't worry too much about dying since there is no punishment. However, after you reach level 10, losing a battle will cost you 10% of your BTC and experience points. You must use extreme caution since in certain cases, you risk levelling down. Avoid frightened to flee from battles since doing so will always succeed in normal battles and might fail in dungeon combat.
You may store your BTC and other valuables at the Bank of Arasaka, which can accessed via the Shangri-La City menu, if you want to be extra cautious. Keeping your hard-earned BTC in a secure location is a smart idea if you're entering a perilous dungeon.