How To Solve Luxurious Chest Puzzle In Vourukasha Oasis. To solve the Luxurious Chest puzzle in Vourukasha Oasis in Genshin Impact, follow these steps:
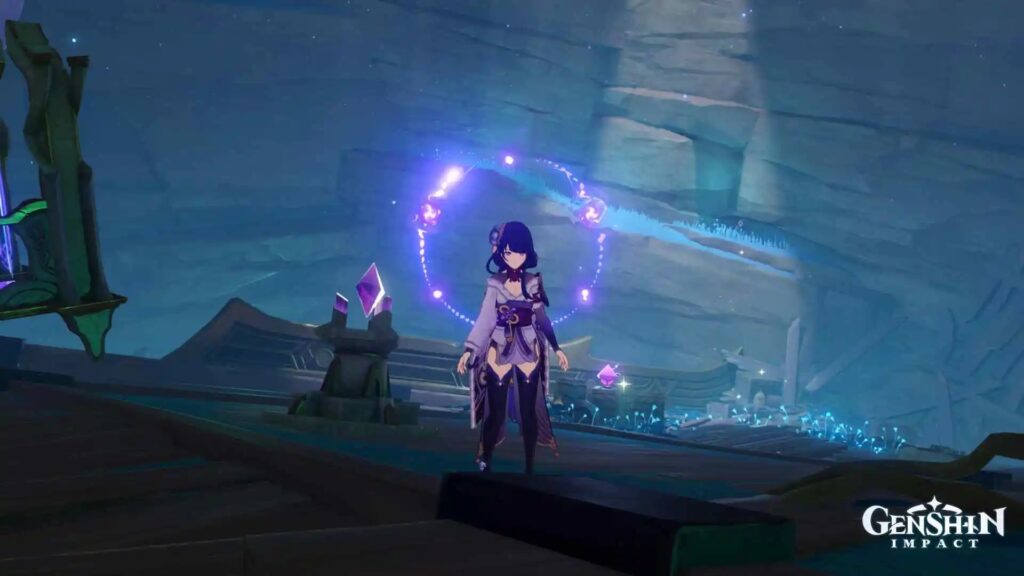
- Find the four blue glowing orbs: The puzzle consists of four blue glowing orbs located around the area. They emit a beam of light that points towards a specific location.
- Follow the beams of light: Follow the beams of light to their destination. You will need to activate the orbs in the correct order to complete the puzzle.
- Activate the orbs in the correct order: Use a character with a bow or a catalyst to activate the orbs in the correct order based on the destination of the beams of light. The correct order is:
- West orb (points to a pillar on the west side of the area)
- South orb (points to a pillar on the south side of the area)
- East orb (points to a pillar on the east side of the area)
- North orb (points to a pillar on the north side of the area)
- Light the four pillars: Once you have activated the orbs in the correct order, four pillars will light up in the center of the area. Use a Pyro character to light the four pillars.
- Open the chest: Once you have lit the pillars, a Luxurious Chest will appear. Open it to claim your reward.
Note: Be aware that there are enemies in the area that you will need to defeat before attempting the puzzle. Also, the Luxurious Chest puzzle can only completed once per day, so you will need to wait until the next day to attempt it again.
Table of Contents
How To Solve Luxurious Chest Puzzle In Vourukasha Oasis
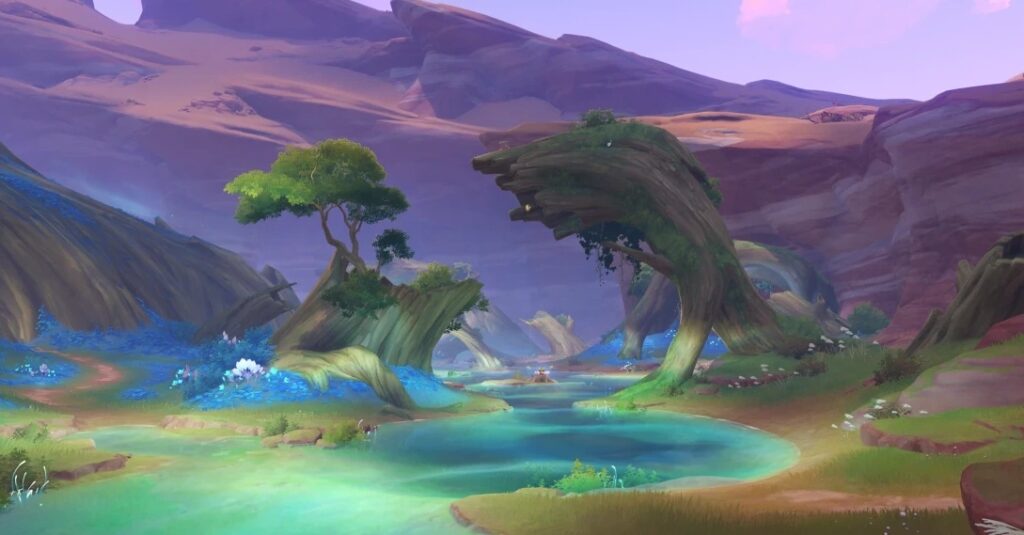
The Gavireh Lajavard and Realm Of Farakhkert sections, which were added in the Genshin Impact version 3.6 update. Are packed with new exploration opportunities for players to delve into. There are many different chests, fresh puzzle elements, and Dendroculi at these locations. The luxurious box, Vourukasha Oasis, which can only unlocked by successfully completing a number of puzzles and tasks, is one of the mysteries these locations conceal.
Players will discover a collection of puzzles surrounding the zone when they arrive at the location of the chest, which commonly consists of Seelies and Khvrena Mayflies positioned close to locked chests. Players must complete each connected problem before going on to the next one since they are interconnected. The hidden Luxurious chest’s goodies are worth the time it takes to complete this task. To be able to do all of the riddles at once, it is advised that players have at least completed the Khvarena of Good and Evil World Quest in Genshin Impact and obtained Sarush.
The Places Where The Puzzles Are
Players are recommended to start with any of the locations and solve the Khvrena Mayflies problem there before solving the Seelie right immediately, even if the order in which they are solved is irrelevant for the purpose of opening the hidden Luxurious chests.
A teleportal that enables players to follow the Seelie to the following puzzle site unlocked if one of the Mayflies has been finished. Players can expedite their progress through the riddles by following this order.
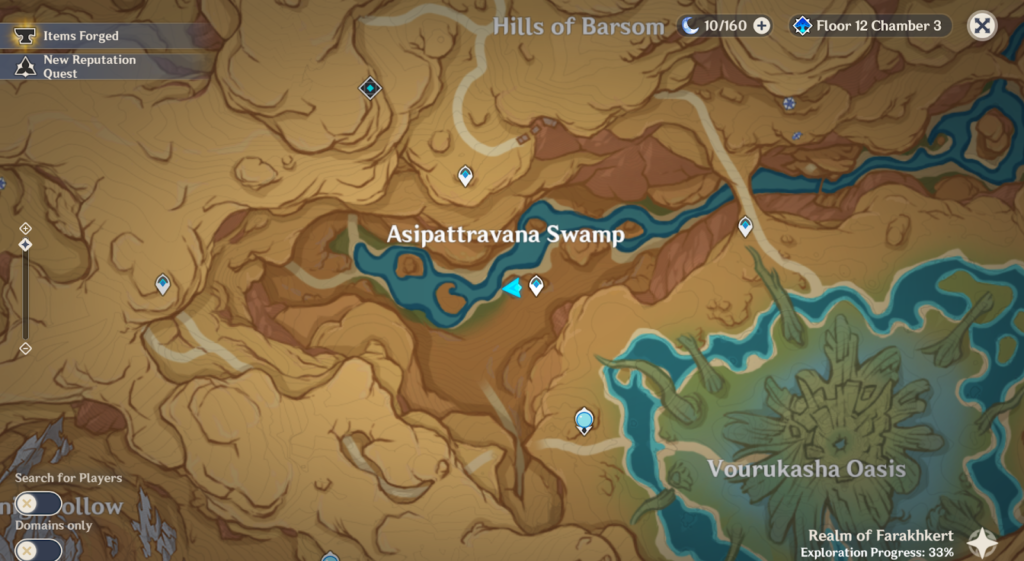
Learn More: How To Solve Luxurious Chest Puzzle In Asipattravana Swamp
1 Location
Players should touch the mayflies in the vicinity of the exquisite chest to start a task that requires them to gather the three mayflies and return them to the chest in order to open and take it. This challenge begins from the spot that is closest to the teleport point in this area. Since all of the mayflies fly close to the ground and can avoided by running around, the challenge rather straightforward.
The Seelie will proceed to a teleportal after the chest has unlocked. Players will immediately follow the Seelie, who appears as a mayfly, to the next place as soon as they enter it. The Seelie will spawn a common chest when it gets to its residence.
2 Location
In this location, the procedure is much the same, however to collect the mayflies this time, players must jump on the mushrooms. While not required, players can make it simpler by using Sarush’s power to shift the red four-leaf symbol to a preferred spot. To save some time, players can move to the highest jumping mushroom before the mayflies get there.
After solving this puzzle, players can open a priceless chest and teleport back with Seelie. A common breast will also appear from this Seelie.
3 Location
Two of the mayflies are on the ground level in this position, while the third one flies to a neighboring frozen branch. It is simple for players to scale the tree bark, jump towards the branch, and get the item before returning to the chest. It could be simpler to use Sarush’s power to relocate the four-leaf symbol to the location where they can gather the last mayfly.
After solving the problem, players can follow the Seelie through the teleporter once more and take her common chest after unlocking an exquisite chest and taking a brief detour.
4 Location

Players need to have Sarush equipped in order to finish this particular mayfly puzzle. While the second mayfly needs Sarush’s might, the first can discovered close to the chest. One of the mayflies will be sitting atop a bulb that can unlocked by activating a four-leaf symbol. To save time, it is advised that players open the bulb before beginning the challenge. The third mayfly can also rapidly obtained before returning to the opulent chest because it is located close to the four-leaf symbol.
After a brief distance, the Seelie will once more open a teleportal, enabling players to return to the starting point and also opening a common chest.
Challenge: 78 Dendro Particles Time Trial
Players will asked to visit a portal after it appears after obtaining the common chest. They will directed to a challenge by this portal, where they must gather 78 Dendro particles in 300 seconds or less. Players may gather the particles by using the four-leaf sigils that dispersed across the landscape, making the challenge rather simple and uncomplicated. Players can use additional portals that occasionally turn them into mayflies, which enables them to automatically gather some of the sigils, in addition to the one mentioned above. At certain points in the challenge, players must run or jump, and they may even find Dendroculus along the road.
Once finished, players will taken back to the beginning, where a lavish chest will be waiting for them to claim it. Players that complete all of these tasks will receive a variety of rewards, including one Luxurious chest, two Precious chests, two Exquisite chests, and four Common chests. Each of these awards is laden with valuables like Primogems and Dendro Sigils.
FAQ
How do you open Tatarasuna's Luxurious Chest?
Send your friend the following:
- Go to south Tatarasuna cliff waypoint.
- As you get to a close, you will discover a lavish chest sealed. Leap off and scale the cliff behind the luxuriously locked chest.
- The cliff behind the opulent chest should scaled.
- Aloha! Now you can open the elegant chest.