Solo Flawless Ghosts Of The Deep Destiny 2. The latest Destiny 2 dungeon has both the horrors of the Lucent Hive and the perils of Titan’s deep methane sea. With Ghosts of the Deep and without a fireteam of three Guardians to aid revive them when they overrun by the many Acolytes and other hazards. Destiny 2 will challenge players, especially those who walk into the dark alone.
To solo Ghosts of the Deep is a feat in and of itself for some gamers. Even more so, soloing flawlessly through Ghosts of the Deep is a testament to talent and tenacity. This Destiny 2 dungeon will test each player with hardship and thrill while offering special prizes for those who succeed.
Table of Contents
Solo Flawless Ghosts Of The Deep Destiny 2
Players will receive the Alone in the Deep victory if they successfully complete every encounter in the Ghosts of the Deep dungeon by themselves and without pausing the game. The Navigator, an Exotic Trace Rifle that is exclusive to this dungeon and one of the strongest Trace Rifles in Destiny 2, will drop more frequently with success, increasing the probability that players will earn the Ghoul title.
Once a player enters a dungeon, they should not exit until they have completed it. The victory of Alone in the Deep will undone even if they have a checkpoint. The dungeon just needs to finished solo; players do not required to perfect it. However, there is a certain build that may help you a better chance to flawlessly solo the Destiny 2 dungeon.
Build a Solar Titan

The Titan class in Destiny 2 is the most resilient one. It well known that no other class or subclass can match the stellar resilience of Solar Titans. In terms of soloing perfect dungeons, lost sectors, and notably Season 21’s Ghosts of the Deep Dungeon, Solar Titans are by far the most effective. To ensure their survival and success in Ghosts of the Deep, players will want to equip Healing Grenades with the appropriate Aspects and Fragments for this Solar Titan construct.
The Best Pieces
Candle of Solace

The Radiant and Restoration duration effects that applied to the player lengthened by this fragment. Restoration will enable players to restore health and shields. Which won’t halted by taking damage, therefore this crucial. Players’ ability to harm enemies with their weapons will improved by Radiant.
Empyrean Ember
The true value of this Solar Fragment is due to the extended duration of Restoration and Radiant effects that players will receive when they deal the finishing blow with their Solar weapons or abilities, despite the possibility that players would experience a -10 to their Resilience when using Ember of Empyrean.
A Flame Of Singing
Players who Scorch targets will benefit from a quicker class ability recharge thanks to Ember of Singeing. Solar light singes scorching targets, gradually damaging them. This made possible by the Throwing Hammer. Which allows players to restore class abilities through repeated stacks of Scorch and Ignition.
A Flame of Torches
Players and other Guardians become Radiant when making powered melee attacks against opponents. Ember of Torches is crucial to this Titan build, even with a -10 Discipline, as a significant portion of the survivability comes from repeated throws and kills with the Throwing Hammer, which will continuously heal the Guardian.
Best Features

Flaming Fires
Roaring Flames increases the damage of all Solar abilities for up to 3 Stacks, making it the ideal complement to Throwing Hammers for last strikes with Solar skills or ignitions. The additional Solar damage is necessary for the Throwing Hammers, and this Aspect will also allow players to equip two fragments.
Learn More: How To Transfer Google Authenticator To Microsoft Authenticator
Invictus Sol
Sunspots produced by the final strikes of Solar abilities. Therefore Hammer of Sol hits and Throwing Hammer eliminations cause a flurry of Sunspots to released across the battlefield. Targets inside these sunspots receive Scorch, faster ability regeneration, Restoration, and damage. Additionally, this aspect will offer 2 fragment slots.
Weapons, Mods, And Armour
The Synthoceps Exotic Arms are a requirement for all players. The Exotic Perk of Biotic Enhancements is present in these Titan gauntlets. As a result, players will benefit from better melee damage while surrounded as well as increased melee lunge range. Which is a crucial perk for this build. Players will desire Heavy Handed from the Arms Armour Mods since they will be using powered melee finishing strikes a lot, which produces Orbs of Power. They’ll also want Impact Induction, which shortens the cool-down on grenades used in melee combat. Which means they’ll need a steady supply of Healing Grenades. The Solar Loader, the third Arms Mod, quickens the rate at which solar weapons may reloaded.
100 Resilience is the most important stat a player can have for their armour. Players that have 100 Resilience will receive a 40% damage reduction. Players should equip Concussive Dampener, Arc Resistance. And Void Resistance for the Chest Armour Mods to greatly increase this damage mitigation. These fire arc, void, and area-of-effect attacks, which will mitigate the effects of the Lucent Hive.
2 Solar Siphons, a Helmet Armour Mod that produces Orbs of Power upon a solar weapon’s final blow. Are required for this build. Additionally, using primary ammo for final hits will enhance the likelihood that Heavy Ammo will drop.
Players will need Solar Weapon Surge to boost their solar abilities’ and weapons’ damage in order to use Leg Armour Mods. Recuperation, which will restore health each time players pick up an Orb of Power, and Solar Scavenger. Which will provide their Solar weapons extra reserves when picking up ammo used by that weapon.
Break The Cycle, First Contact
Players will start the first encounter to Break the Ritual as soon as they enter the Ghosts of the Deep dungeon by battling the Hive Knights at the Ritual location. It is best to keep a distance and use Scout Rifles or Throwing Hammers to stay in a steady stream of Radiant and Restoration effects in order to Solo Flawless this dungeon.
The Xenophage will be the player’s greatest option for taking down the Ogres, Wizards, and Lucent Hive Light Bearers. This weapon will stun Ogres and Hive Light Bearers while killing Wizards with a single shot. Since the Titan Super will treat the player like a hammer-throwing tank, it should only used in emergency situations.
Underwater Adventure
Players have quite the trip ahead of them after their initial run-in with Ghosts of the Deep. The descent into the deep is something that players must accomplish. Players must avoid dying during this section because doing so will not only reset the jumping puzzle and eliminate their chances of completing it flawlessly, but it will also make Xivu Arath smug.
Prioritizing the air bubbles underwater will help players restore their pressure. Although the distance is short. There a chance of getting trapped by the methane pressure and encountering the confines of Hive before the second encounter.
The Shield of Savathun, Second Encounter, and Ecthar
The confrontation with Ecthar will be the most dangerous of the three because players won’t be using their guns, only their throwing hammers and tractor cannons. The players will toss their hammers to start the encounter, creating Sunspots and Restoration effects while also covering the battlefield with Orbs of Power for later use.
The best course of action is to learn the Hive symbols required to enter Ecthar’s damage phase and to keep your Throwing Hammers at the ready for the Wizard Light Bearers. Now that the damage phase has begun. Players should utilize their Hammers of Sol Super to destroy Ecthar’s shield and create Sunspots close to the boss to dispatch of Savathun’s fighter with ease.
When players run out of Super, things get dicey. They’ll want to get close to Ecthar and shoot him with the Tractor Cannon Exotic Power Weapon in order to activate Void Suppression and deal extra damage. They will then wish to repeatedly throw their Throwing Hammer, which deals about 100,000 damage. Throwing a Healing Grenade is a huge advantage if players are losing health more quickly than they are gaining it during this process, which should take 4 to 5 phases.
Third Encounter, Lucent Necromancer, Simmumah Ur-Nokru
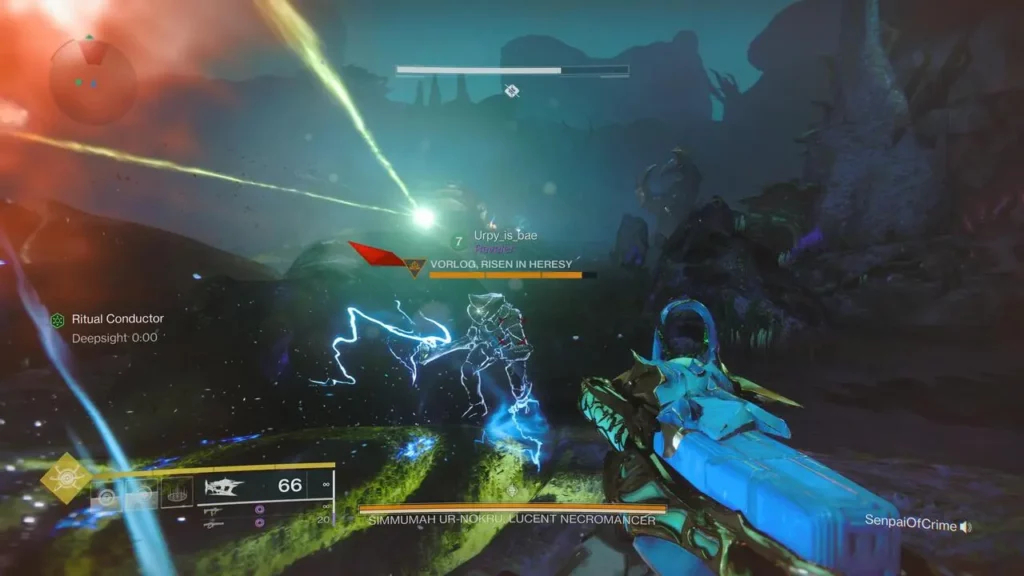
Players will want to modify their loadout somewhat after Ecthar’s demise. The Xenophage must turned back on, and the Leg Armour Mods must modified. If players have the Heavy Ammo required for the damage stages. They will now want three Solar Weapon Surges to properly maximize the damage of the Xenophage, as this weapon will be the cannon that kills Simmumah Ur-Nokru.
Simmumah Ur-Nokru, a boss with well over 9 million HP, will take up the most of the player’s time. Due to the swarming Acolytes and Knights. As well as Simmumah’s ability to shoot arc moths that will instantly kill the player if more than one hits, this fight is extremely perilous. Since the Hive Knights do not respawn until the following damage phase, players should eliminate them right away. They should also keep an eye out for Simmumah to make sure they shoot the arc moths she summons.
The boss in the room with Oryx’s corpse can defeated in anywhere from 5 to 7 damage phases. It is advisable to amass enough Orbs of Power to maintain Armour Charges during Simmumah’s damage phase before unleashing the Hammers of Sol Super to destroy the wizard boss’ shield. Then, until the damage phase is over, players should consistently hit shots with the Xenophage. Even while repeating this technique is time-consuming, it is very effective at producing results.
FAQ
How do you beat Ghost of the Deep's last boss?
From here, all players have to do is use the Witherhoard to shoot Ecthar, then pass away. The damage that previously shown as “Immune” will now deal damage numbers once players have been restored.