Timberborn How To Migrate Population. Timberborn is a city-building game developed and published by Mechanistry. It is set in a post-apocalyptic world where beavers have become the dominant species and humans are long gone. Players take on the role of a leader guiding a society of beavers to build and manage a thriving civilization.
In Timberborn, your main objective is to construct and expand your beaver colony by designing efficient infrastructure and managing resources. The game focuses on sustainable development and the challenges of balancing the needs of your beavers with the limited resources available.
Timberborn How To Migrate Population
In Timberborn, migrating the population allows you to relocate beavers from one district to another. This can be useful for balancing the population across different areas of your colony or optimizing work efficiency. Here's how you can migrate the population:
- Build a Migration Center: To initiate population migration, you need to construct a Migration Center. Open the Build menu and navigate to the Infrastructure category to find the Migration Center.
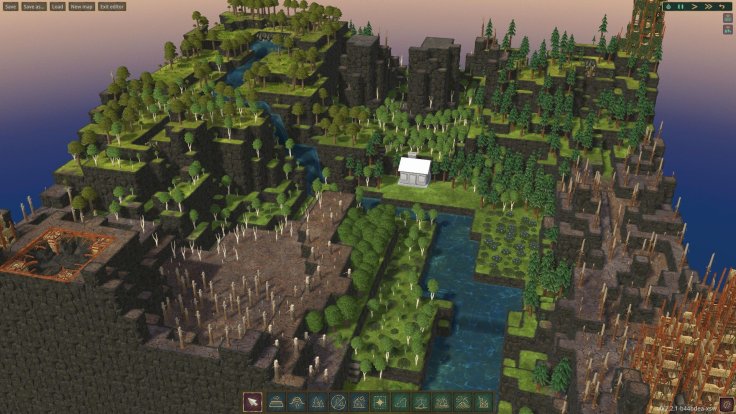
- Place the Migration Center: Choose a suitable location within your colony to place the Migration Center. Consider placing it strategically, such as near areas with a high population or where you want to redistribute beavers.
- Set Migration Routes: Once the Migration Center is built, select it and open the Migration menu. In this menu, you can set up migration routes for your beavers. A migration route defines the path that beavers will follow when migrating from one district to another.
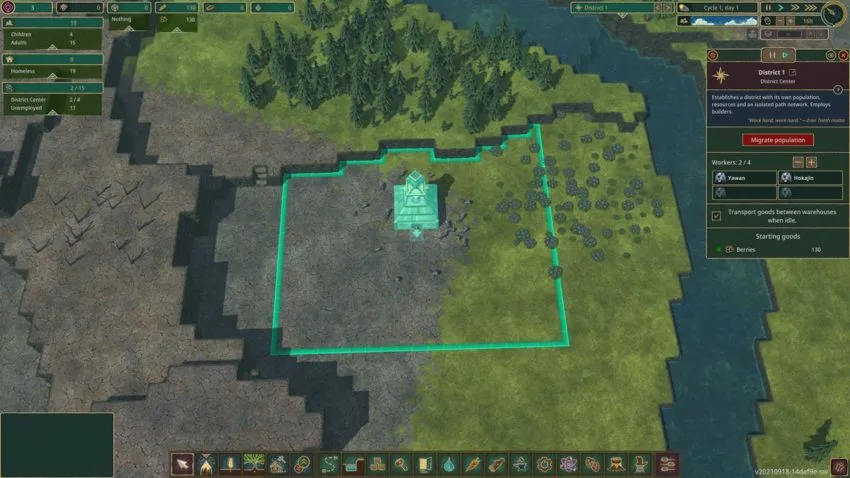
- Select Source and Destination Districts: In the Migration menu, select the source district from which you want to migrate beavers. This is typically the district with a higher population that you want to reduce. Then, select the destination district where you want the beavers to migrate. This is usually a district with lower population or where you want to increase the workforce.
Learn More: Timberborn How To Expand District
- Set Migration Preferences: In the Migration menu, you can also set specific preferences for the migration. For example, you can prioritize migrating certain age groups, such as adults or juveniles, or select beavers with specific skills or traits. Adjust these preferences based on your colony's needs and goals.
- Initiate Migration: Once you have set up the migration routes and preferences, initiate the migration process. Beavers will start moving from the source district to the destination district based on your settings. You can monitor the progress of the migration in the Migration menu.
- Monitor and Adjust: Keep an eye on the population changes in the source and destination districts as the migration takes place. If needed, you can adjust the migration routes, preferences, or stop the migration altogether by accessing the Migration menu and making the necessary changes.
By following these steps, you can effectively migrate the population in Timberborn, allowing you to balance your colony's workforce and optimize productivity in different districts. Remember to plan strategically and consider the needs of each district when setting up migration routes and preferences.
FAQ
How To Migrate Population In Timberborn?
- Build a Migration Center: To initiate population migration, you need to construct a Migration Center. Open the Build menu and navigate to the Infrastructure category to find the Migration Center.
- Place the Migration Center: Choose a suitable location within your colony to place the Migration Center. Consider placing it strategically, such as near areas with a high population or where you want to redistribute beavers.
- Set Migration Routes: Once the Migration Center is built, select it and open the Migration menu. In this menu, you can set up migration routes for your beavers. A migration route defines the path that beavers will follow when migrating from one district to another.
- Select Source and Destination Districts: In the Migration menu, select the source district from which you want to migrate beavers. This is typically the district with a higher population that you want to reduce. Then, select the destination district where you want the beavers to migrate. This is usually a district with lower population or where you want to increase the workforce.
- Set Migration Preferences: In the Migration menu, you can also set specific preferences for the migration. For example, you can prioritize migrating certain age groups, such as adults or juveniles, or select beavers with specific skills or traits. Adjust these preferences based on your colony's needs and goals.
- Initiate Migration: Once you have set up the migration routes and preferences, initiate the migration process. Beavers will start moving from the source district to the destination district based on your settings. You can monitor the progress of the migration in the Migration menu.
- Monitor and Adjust: Keep an eye on the population changes in the source and destination districts as the migration takes place. If needed, you can adjust the migration routes, preferences, or stop the migration altogether by accessing the Migration menu and making the necessary changes.