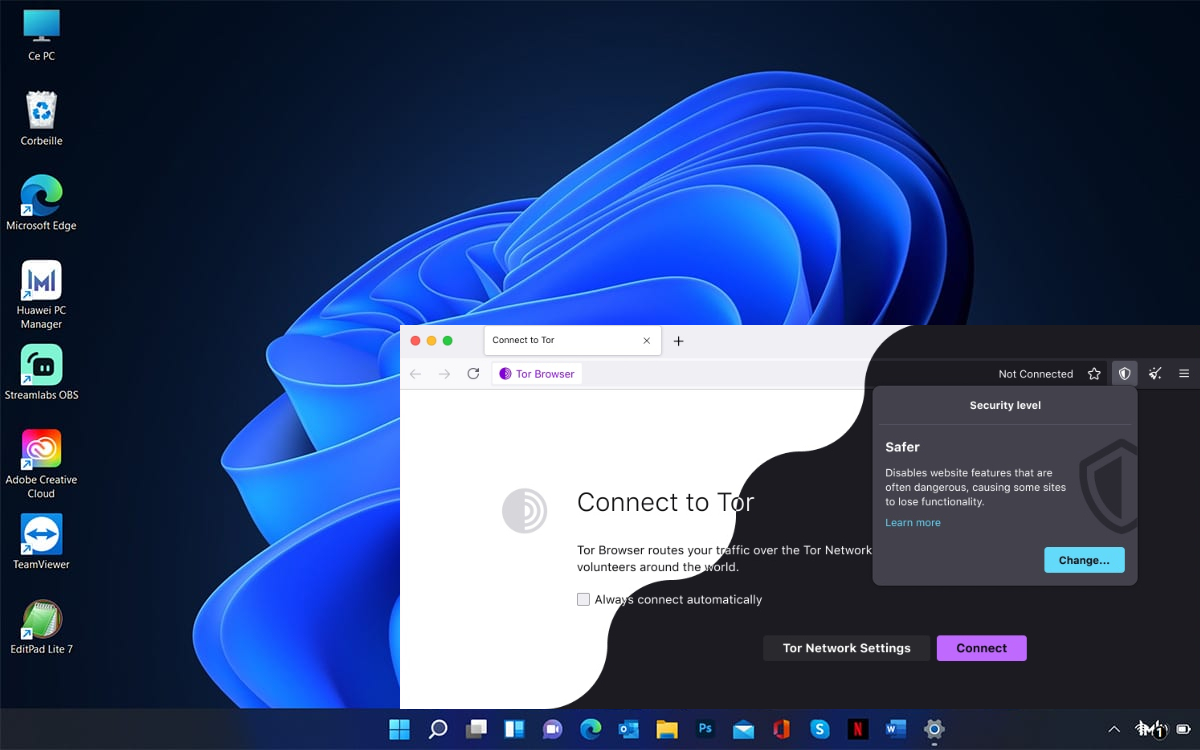
How To Uninstall Tor Browser From Windows 11. The Tor Browser a web browser designed for secure and anonymous web browsing. It based on the Mozilla Firefox web browser and configured to route your internet traffic through the Tor network, which stands for “The Onion Router.”
Table of Contents
How To Uninstall Tor Browser From Windows 11
Here’s what you need to know about the Tor Browser:
To uninstall the Tor Browser from a Windows 11 computer, you can follow these steps:
- Close Tor Browser: Make sure Tor Browser is not running. If it is, close it by clicking the X button in the upper-right corner of the Tor Browser window.
- Access the Windows Settings:
- Click on the Start button in the taskbar or press the Windows key on your keyboard to open the Start menu.
- Click on the Settings icon (it looks like a gear) to open the Windows Settings.
- Navigate to “Apps”:
- In the Windows Settings, click on Apps from the list of options.
- Find Tor Browser:
- In the Apps & features section, you’ll see a list of installed applications. Scroll down or use the search bar to find Tor Browser in the list.
- Uninstall Tor Browser:
- Click on Tor Browser in the list to select it.
- Click the Uninstall button that appears after selecting Tor Browser.
- Confirmation:
- A confirmation dialog will appear asking if you want to uninstall Tor Browser. Click Uninstall again to confirm.
- Follow the Uninstallation Wizard:
- Follow the on-screen instructions in the uninstallation wizard to complete the removal process. This may involve confirming that you want to delete certain files and settings associated with Tor Browser.
- Wait for Uninstallation:
- Windows will now uninstall Tor Browser. This may take a moment.
- Completion:
- Once the uninstallation process complete, you will receive a notification confirming that Tor Browser has uninstalled.
- Reboot (if prompted):
- In some cases, you may prompted to restart your computer to complete the uninstallation process. If prompted, save any important work, and then restart your computer.
That’s it! Tor Browser should now completely removed from your Windows 11 computer. Remember that Tor Browser designed for privacy and security, so make sure to consider your reasons for uninstalling it before doing so.

Learn More: How To Earn Money From Instagram Reels
Why Is The Tor Browser Missing From The Programs And Features List?
A portable web browser is the Tor browser. It not installed in the same way that other programs are. The Windows Registry not altered by the Tor browser setup.
In actuality, the Tor browser not installed when you start the installation process. The installer extracts the files necessary for the Tor browser to function.
This explains why the third-party program Uninstallers or the Programs And Features utility do not list the Tor browser.
All you need to do to uninstall the Tor browser is remove the Tor browser folder, and you won’t see it again.
Where Does The Tor Browser Exist?
The default location for the Tor browser installation during setup is the Desktop folder. Simply deleting the folder will deactivate the Tor browser.
How Do I Locate The Installation Folder For The Tor Browser?
If you’re having trouble finding the Tor browser, highlight the shortcut on your desktop and press the Alt and Enter keys at the same time to bring up the Properties menu.
Then select Open File Location.
To access the main folder, click the Up button twice.
Now that the Tor browser gone, you can delete the Tor Browser folder.
FAQ
How To Uninstall Tor Browser From Windows 11?
- Close Tor Browser
- Access the Windows Settings
- Navigate to “Apps”
- Find Tor Browser
- Uninstall Tor Browser
- Confirmation
- Follow the Uninstallation Wizard
- Wait for Uninstallation
- Completion
- Reboot (if prompted)