

Motherboard Troubleshooting Genshin Impact Level 3. Thelxie Fantastic Adventures Event, which features minigames like Motherboard Troubleshooting where you have to fix the motherboard by connecting the circuits that broken apart in a specific order recently revealed in Genshin Impact 4.2. We will be providing you with the solutions for Genshin Impact Motherboard Troubleshooting 3 in this guide. Now let's begin the Quest for Ingenious Assemblage and Synchronous Strategy.
The events that were added to Genshin Impact in Version 4.2 include Thelxie's Fantastic Adventures. The diver Freminet is shown in the event travelling to create Thelxie for his customer. He will need some assistance from the Traveller in creating Thelxie. Troubleshooting motherboards is one such item. Don't worry if you find yourself stuck in the event. This is our walkthrough for levels 3 of the Motherboard Troubleshooting event in Genshin Impact.
Also Read: Remnant 2: How To Find Get Alchemy Stone Ring
Motherboard Troubleshooting Genshin Impact Level 3
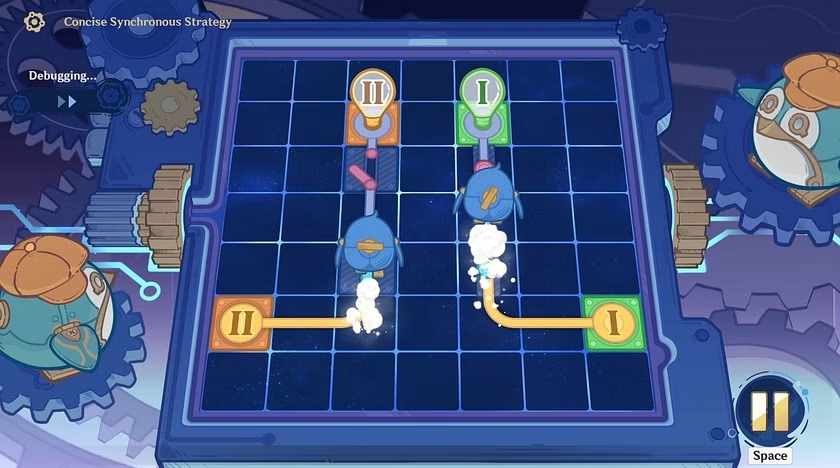
The Genshin Impact Motherboard Troubleshooting 3 Puzzle requires you to connect the circuit's left side first, then its right side. Use the illustration below as a guide.
Attach the first bird to the bulb at the first position, and the second bird to the circuit next to the first one. The Genshin Impact Motherboard Troubleshooting 4 Puzzle can then be finished by following the path from the second bird to the second bulb. Use the illustration below as a guide.
You will eventually finish the Genshin Impact Synchronous Strategy and Ingenious Assemblage Task by finishing both.
FAQ
Motherboard Troubleshooting Genshin Impact Level 3?
The Genshin Impact Motherboard Troubleshooting 3 Puzzle requires you to connect the circuit's left side first, then its right side. Use the illustration below as a guide.